Whether it be lego structures, lincoln logs houses or domino towers, building things and completing projects has always been something that has entertained me. Thus when my dad wanted to see his old car from high school run again, I pounced on the opportunity. Going into the project, I had some woodshop experience from my highschool engineering courses, but in terms of working with cars, I hadn't done anything more than washing them and changing a broken tail light. I was eager to get started, but ignorant of some of the challenges I was soon to face.
Luckily for me, two of my friends, David Knuth and Alec MacKie agreed to help with the project and most importantly, Peter Knuth (David's dad) agreed to help lead the project. Without Peter's knowledge regarding cars, access to construction tools and dedication to helping me learn how to work on cars, this project would have never been possible.
Day 1: March, 2015
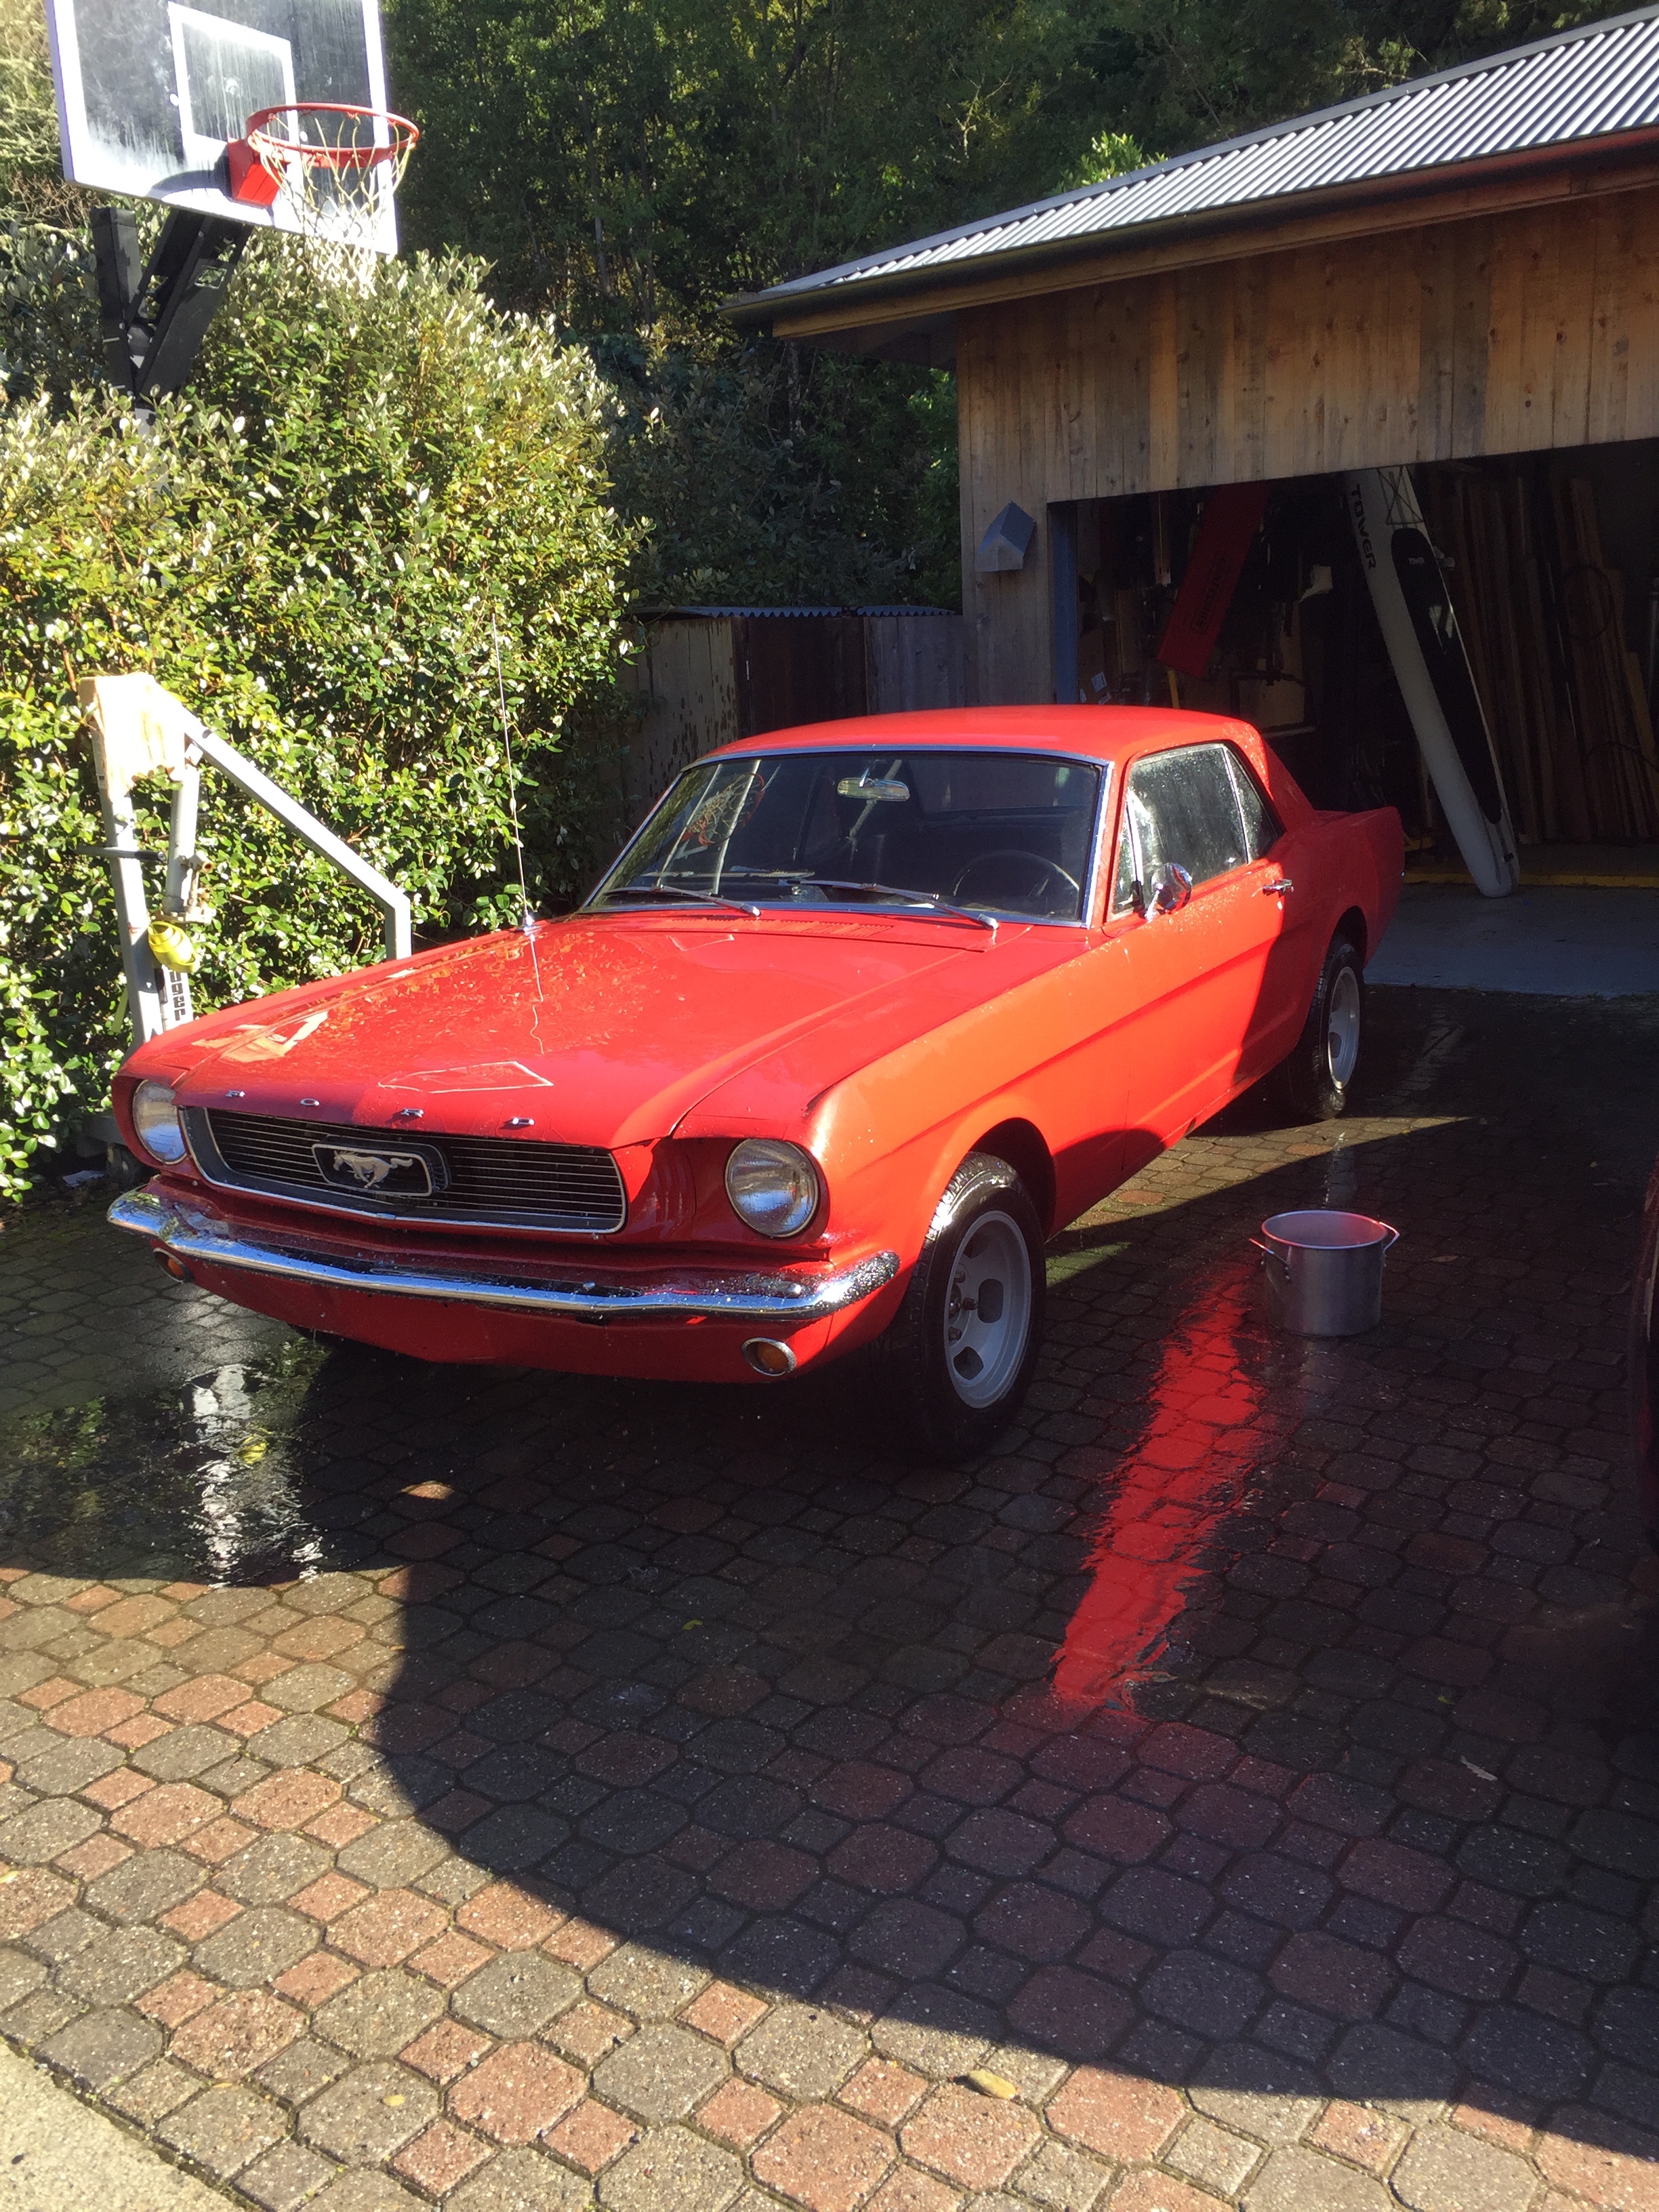
On the first day of work for the Mustang project, we cleaned the car and moved it from my house
over to my friend David's where it would live for the remainder of the project. Upon getting into the car,
we found that one of the windows was shattered, the car was full of leaves and there was even a birds nest under
the hood. This was all slightly gross, but would prove to be a good representation of some of the
dirtier things that we would inevitably do. Once the car was thoroughly vacuumed and sprayed down,
we found (unsurprisingly) that it wouldn't start. Our plan was then to tow it with Peter's truck up
to their house. Unfortunately, that's when we discovered the rear axle was frozen. Despite the axle being frozen,
Peter's truck had no trouble lugging it up to their house, leaving night black skid marks behind.
Funny enough, a couple hours after we started working at Peter's, a couple walked up to us and said
that they had followed the skid marks from the start wanting to know where they led.
Parts Removal: March-May 2015
For the next few months I learned about what many of the different car parts are as we took
them out to see what could be cleaned and salvaged and what would need to be replaced.
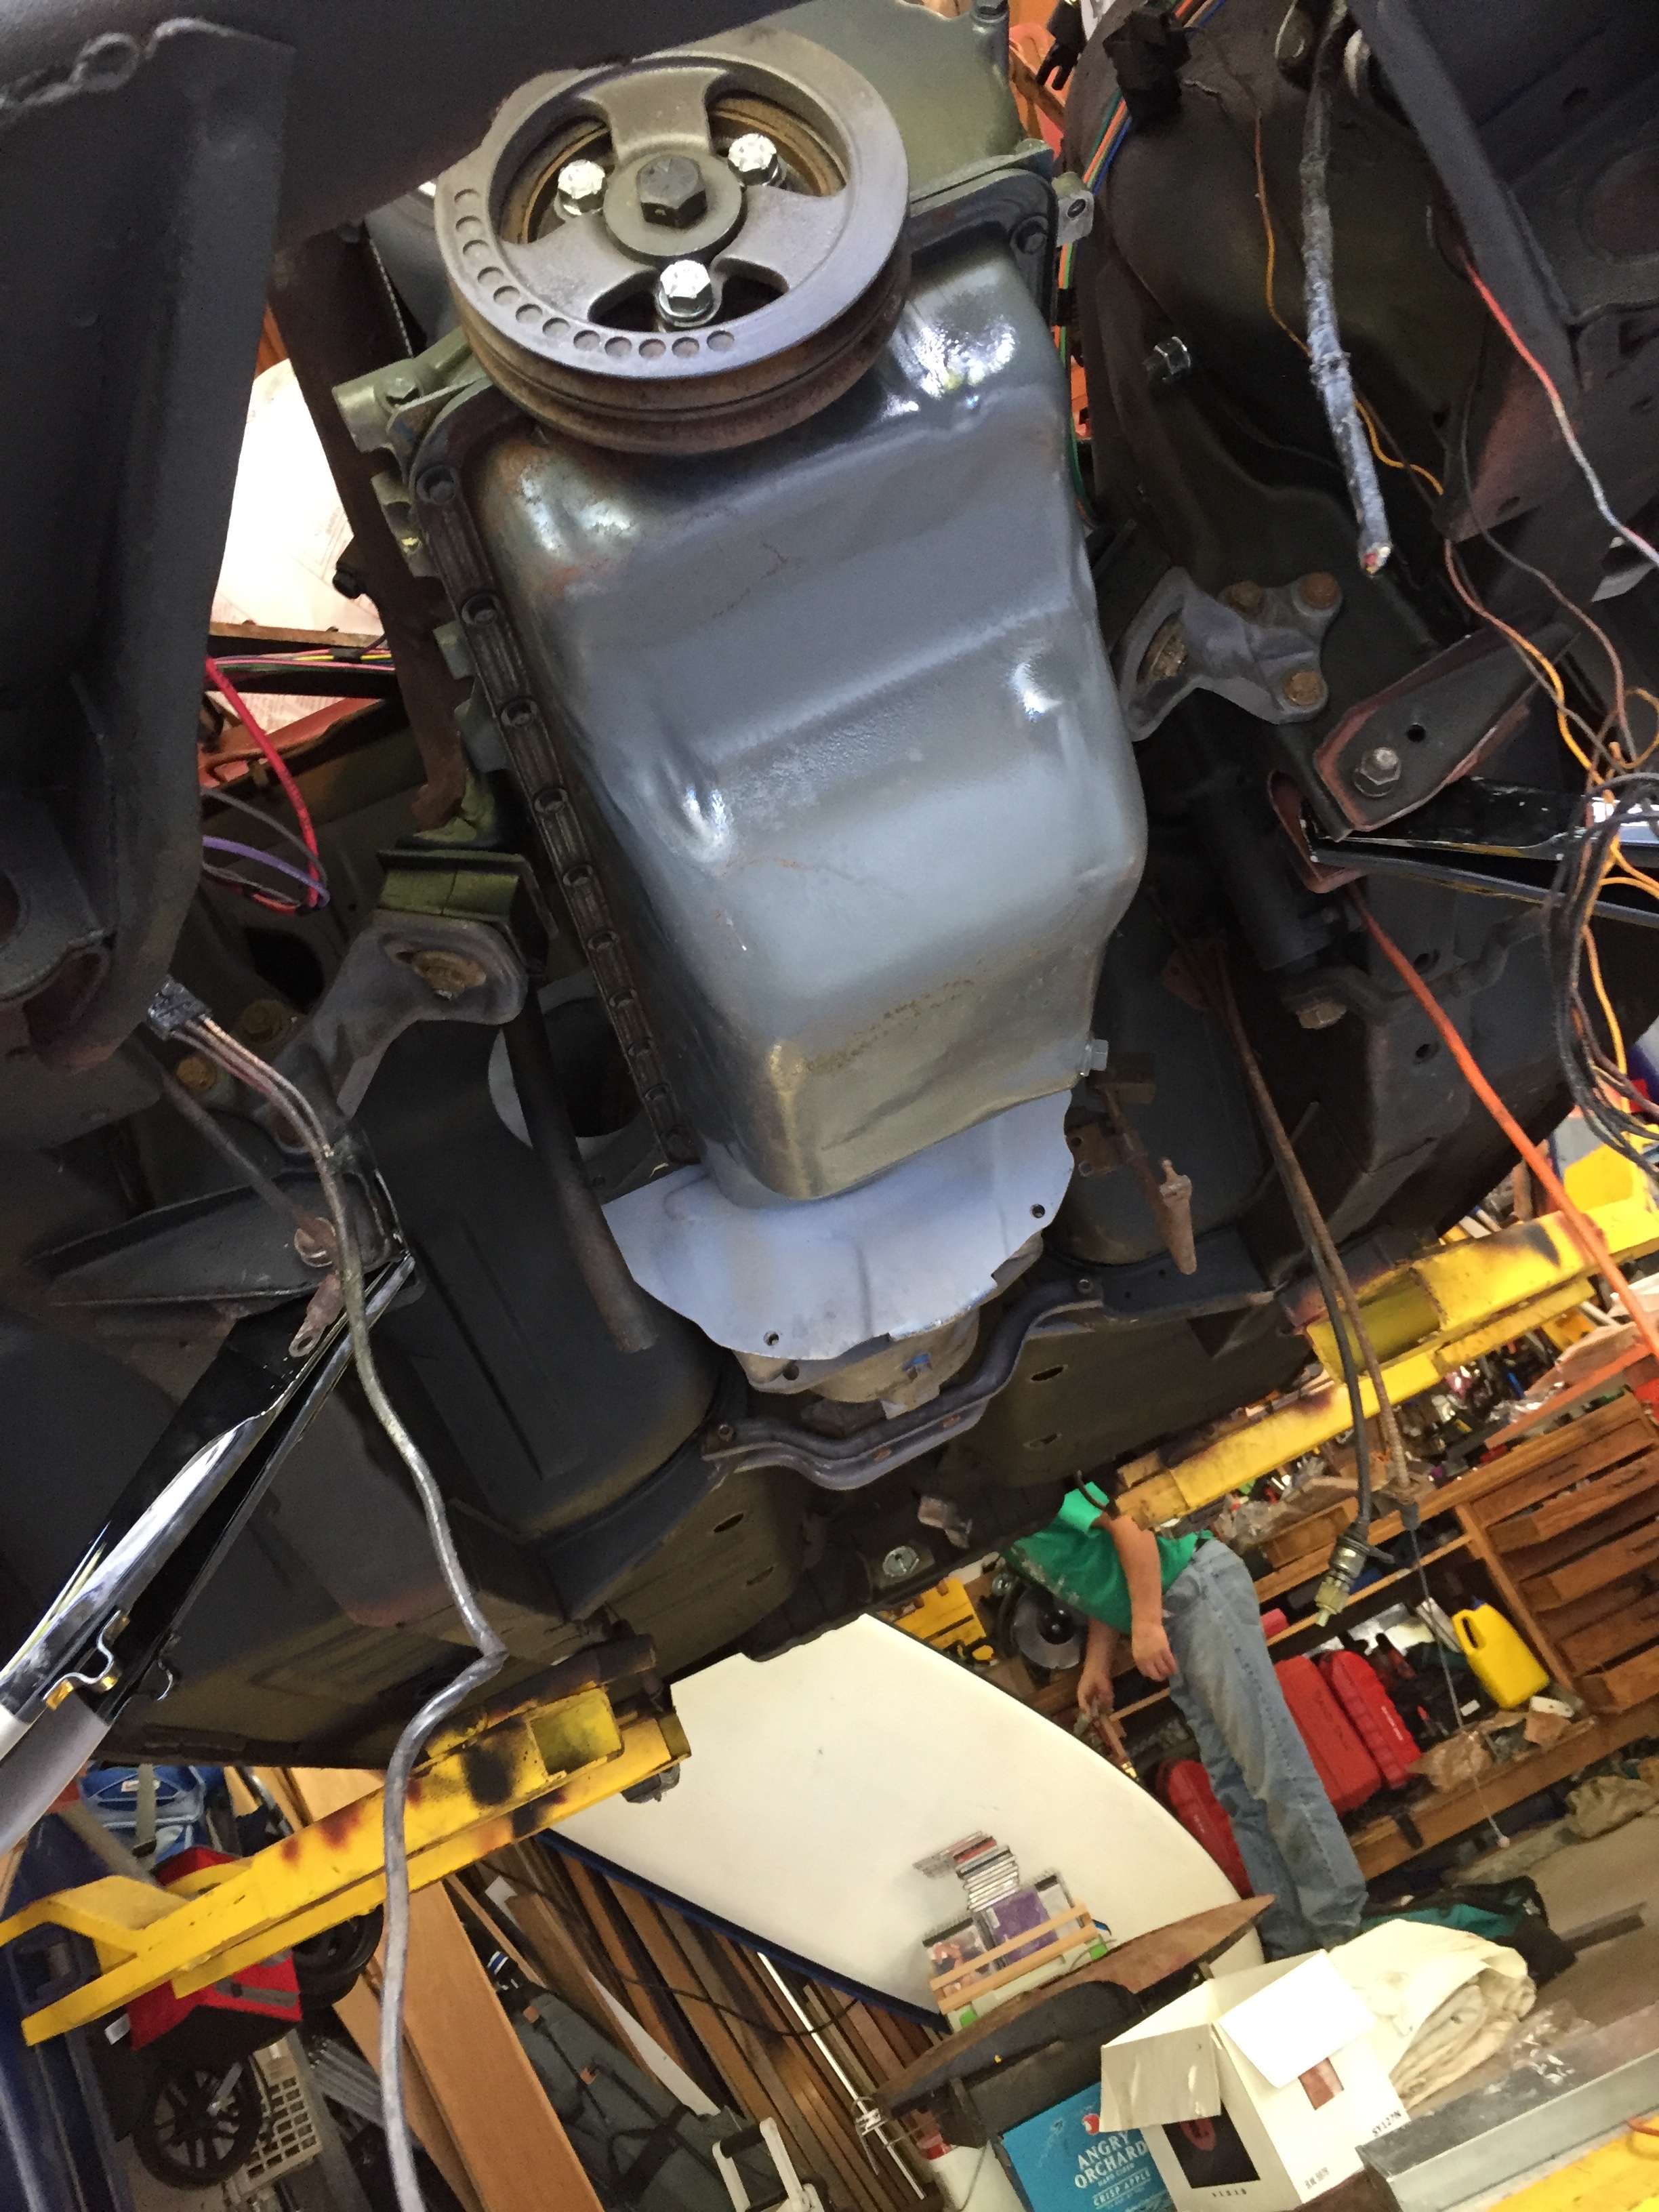
For example, the transmission pictured to the right, although completely rusted over on the outside,
the inside proved to be very well preserved because of the oil.
Scraping: June-July 2015
These were undoubtedly the hardest months of the entire project and challenged my desire to keep working.
In this stage, I, along with help from David and Alec, scraped for hours and hours and days and days at the immense
amount of rust that lay on the underside of the car. Not only was it exhausting as it took a lot of force to pry the rust from
the car, but it also covered us in a coat of filth and occasionally we would jab ourselves with our scrapers.
As a side note, we wore respirators to avoid breathing in all of the dirt and dust we were removing.
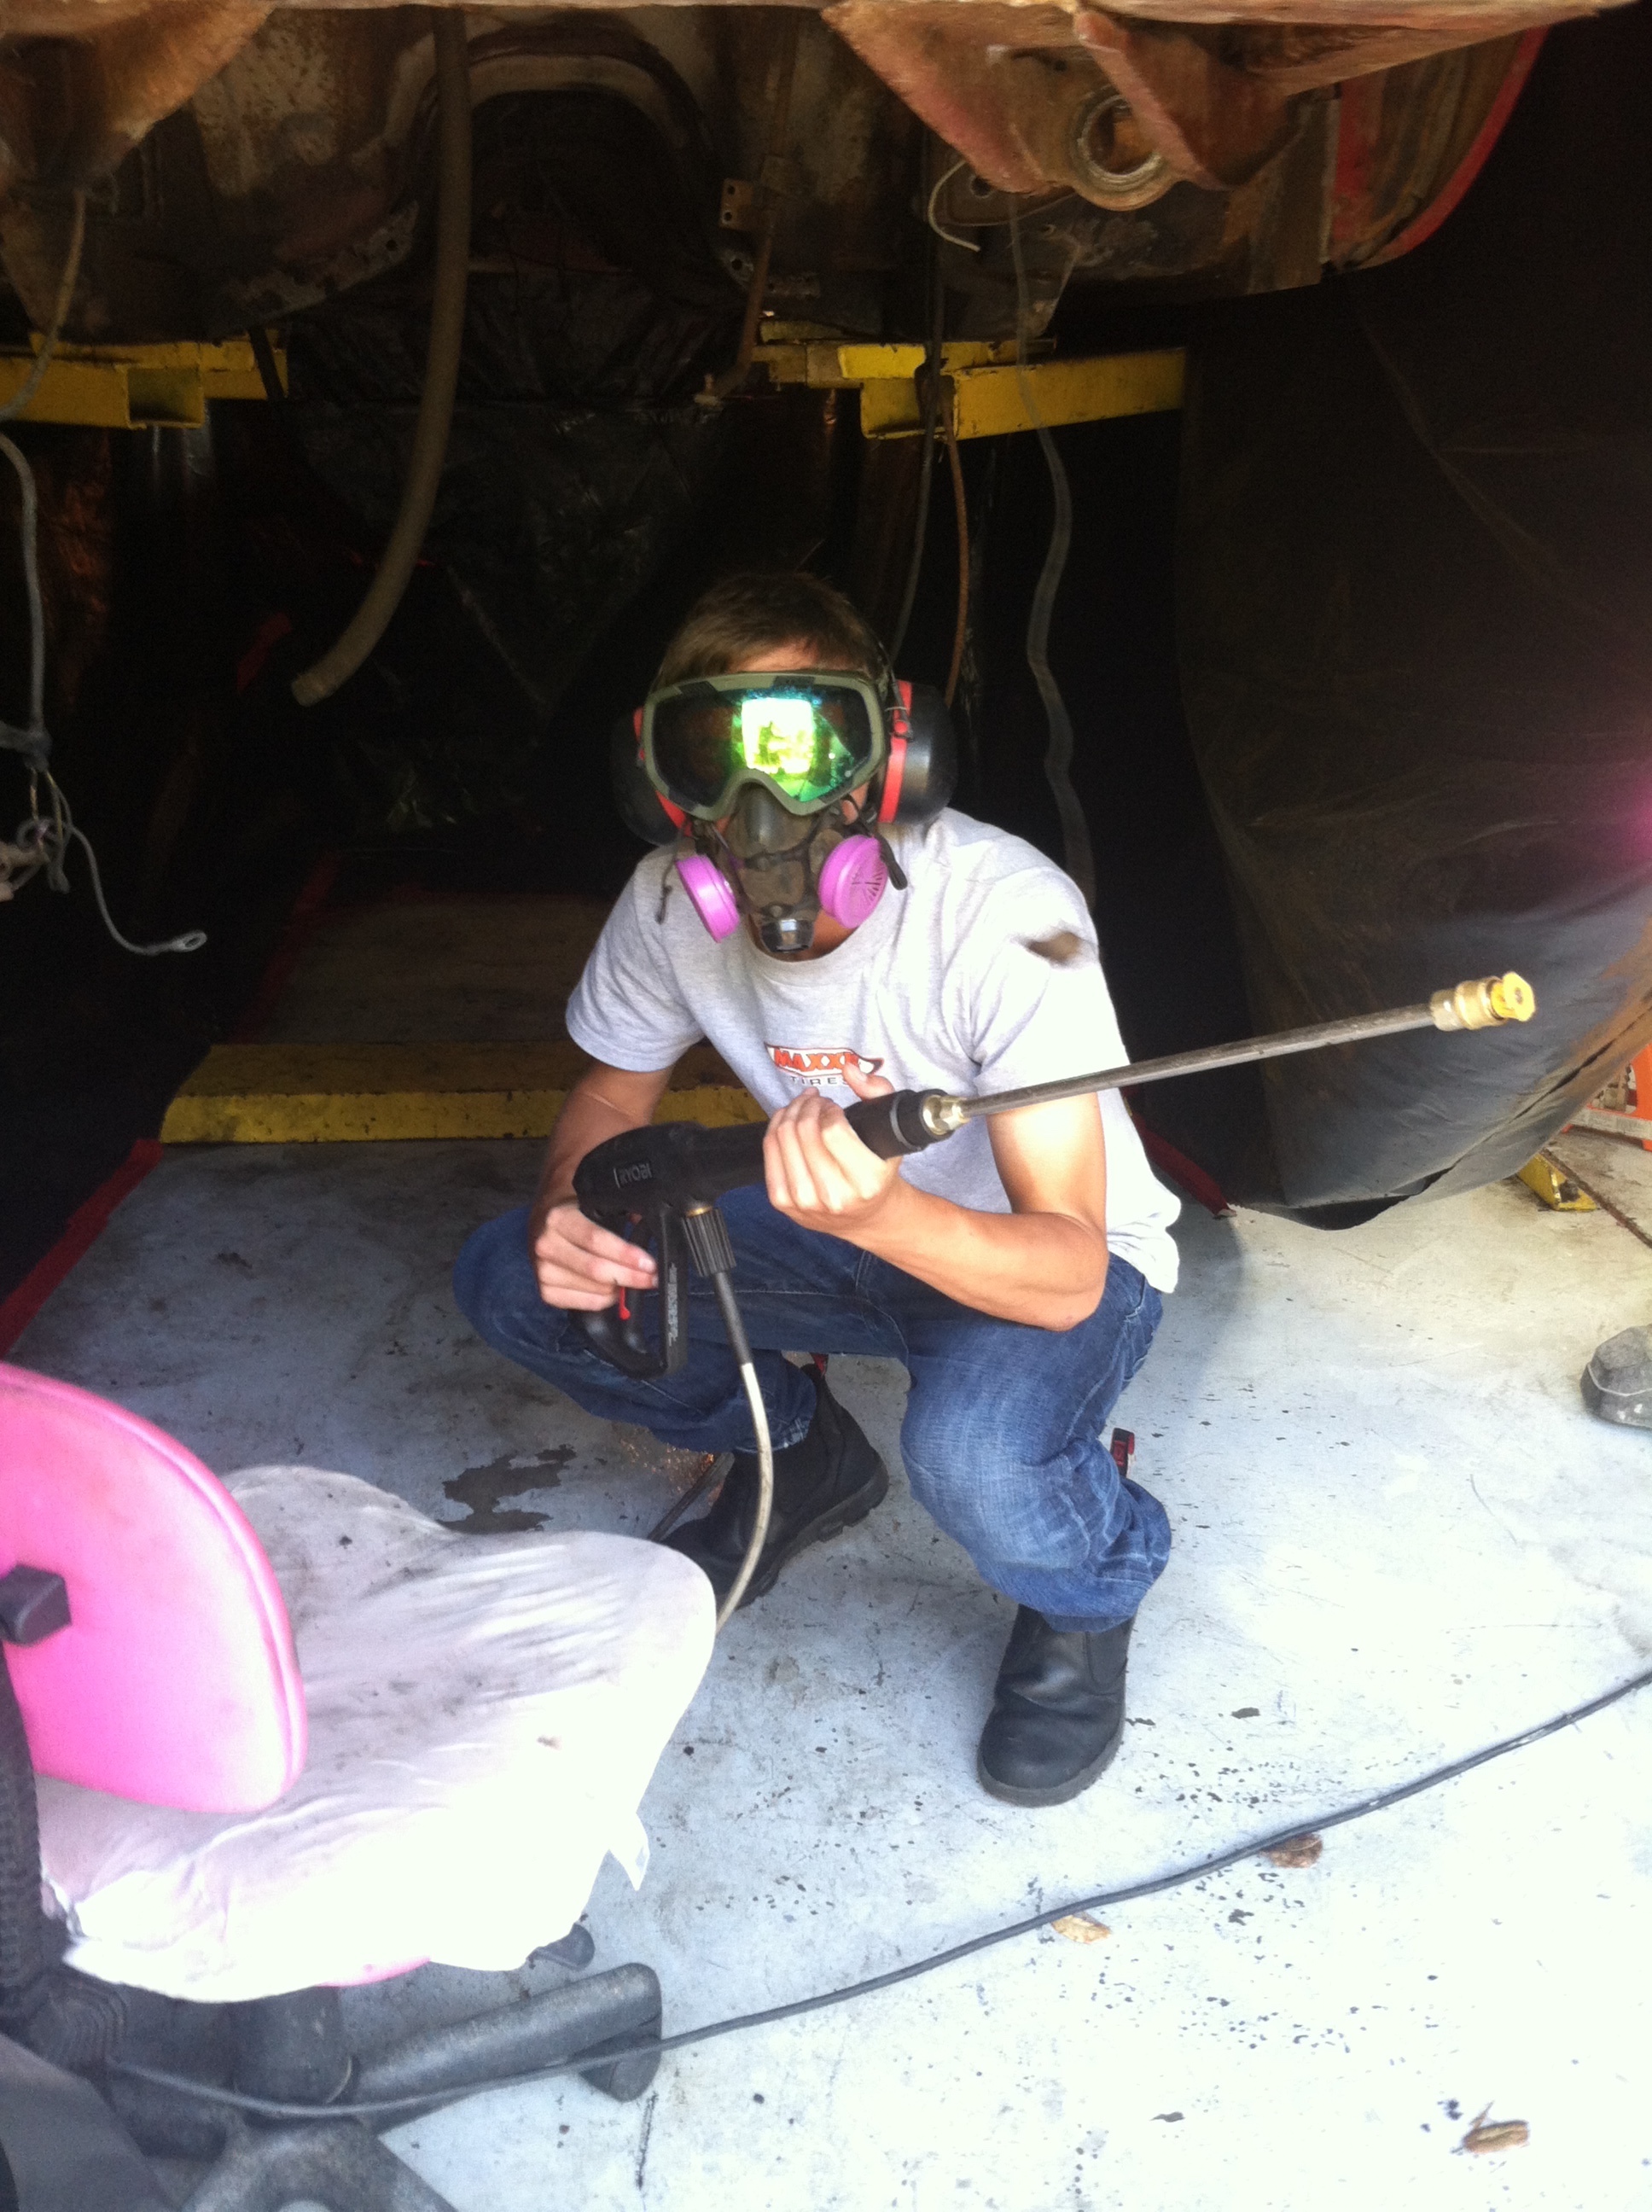
Pressure Washing July-August 2015
In the picture to the right I am holding a pressure washer and have a respirator mask on. It was mid July when Peter brought up the idea of using a pressure washer. At the time I was unsure of what
that would mean and how much it would really help. I soon found out that it was a game changer. Chunks of rust that would have taken hours
to remove previously were now coming of in mere minutes. I'm not sure if Peter knew just how much the pressure washer
would help, but after seeing what it was capable he expressed that he thought it was important that we did a sizeable
portion of the scraping by hand as to learn respect for how much force it actually took to remove. At one point I mistakenly
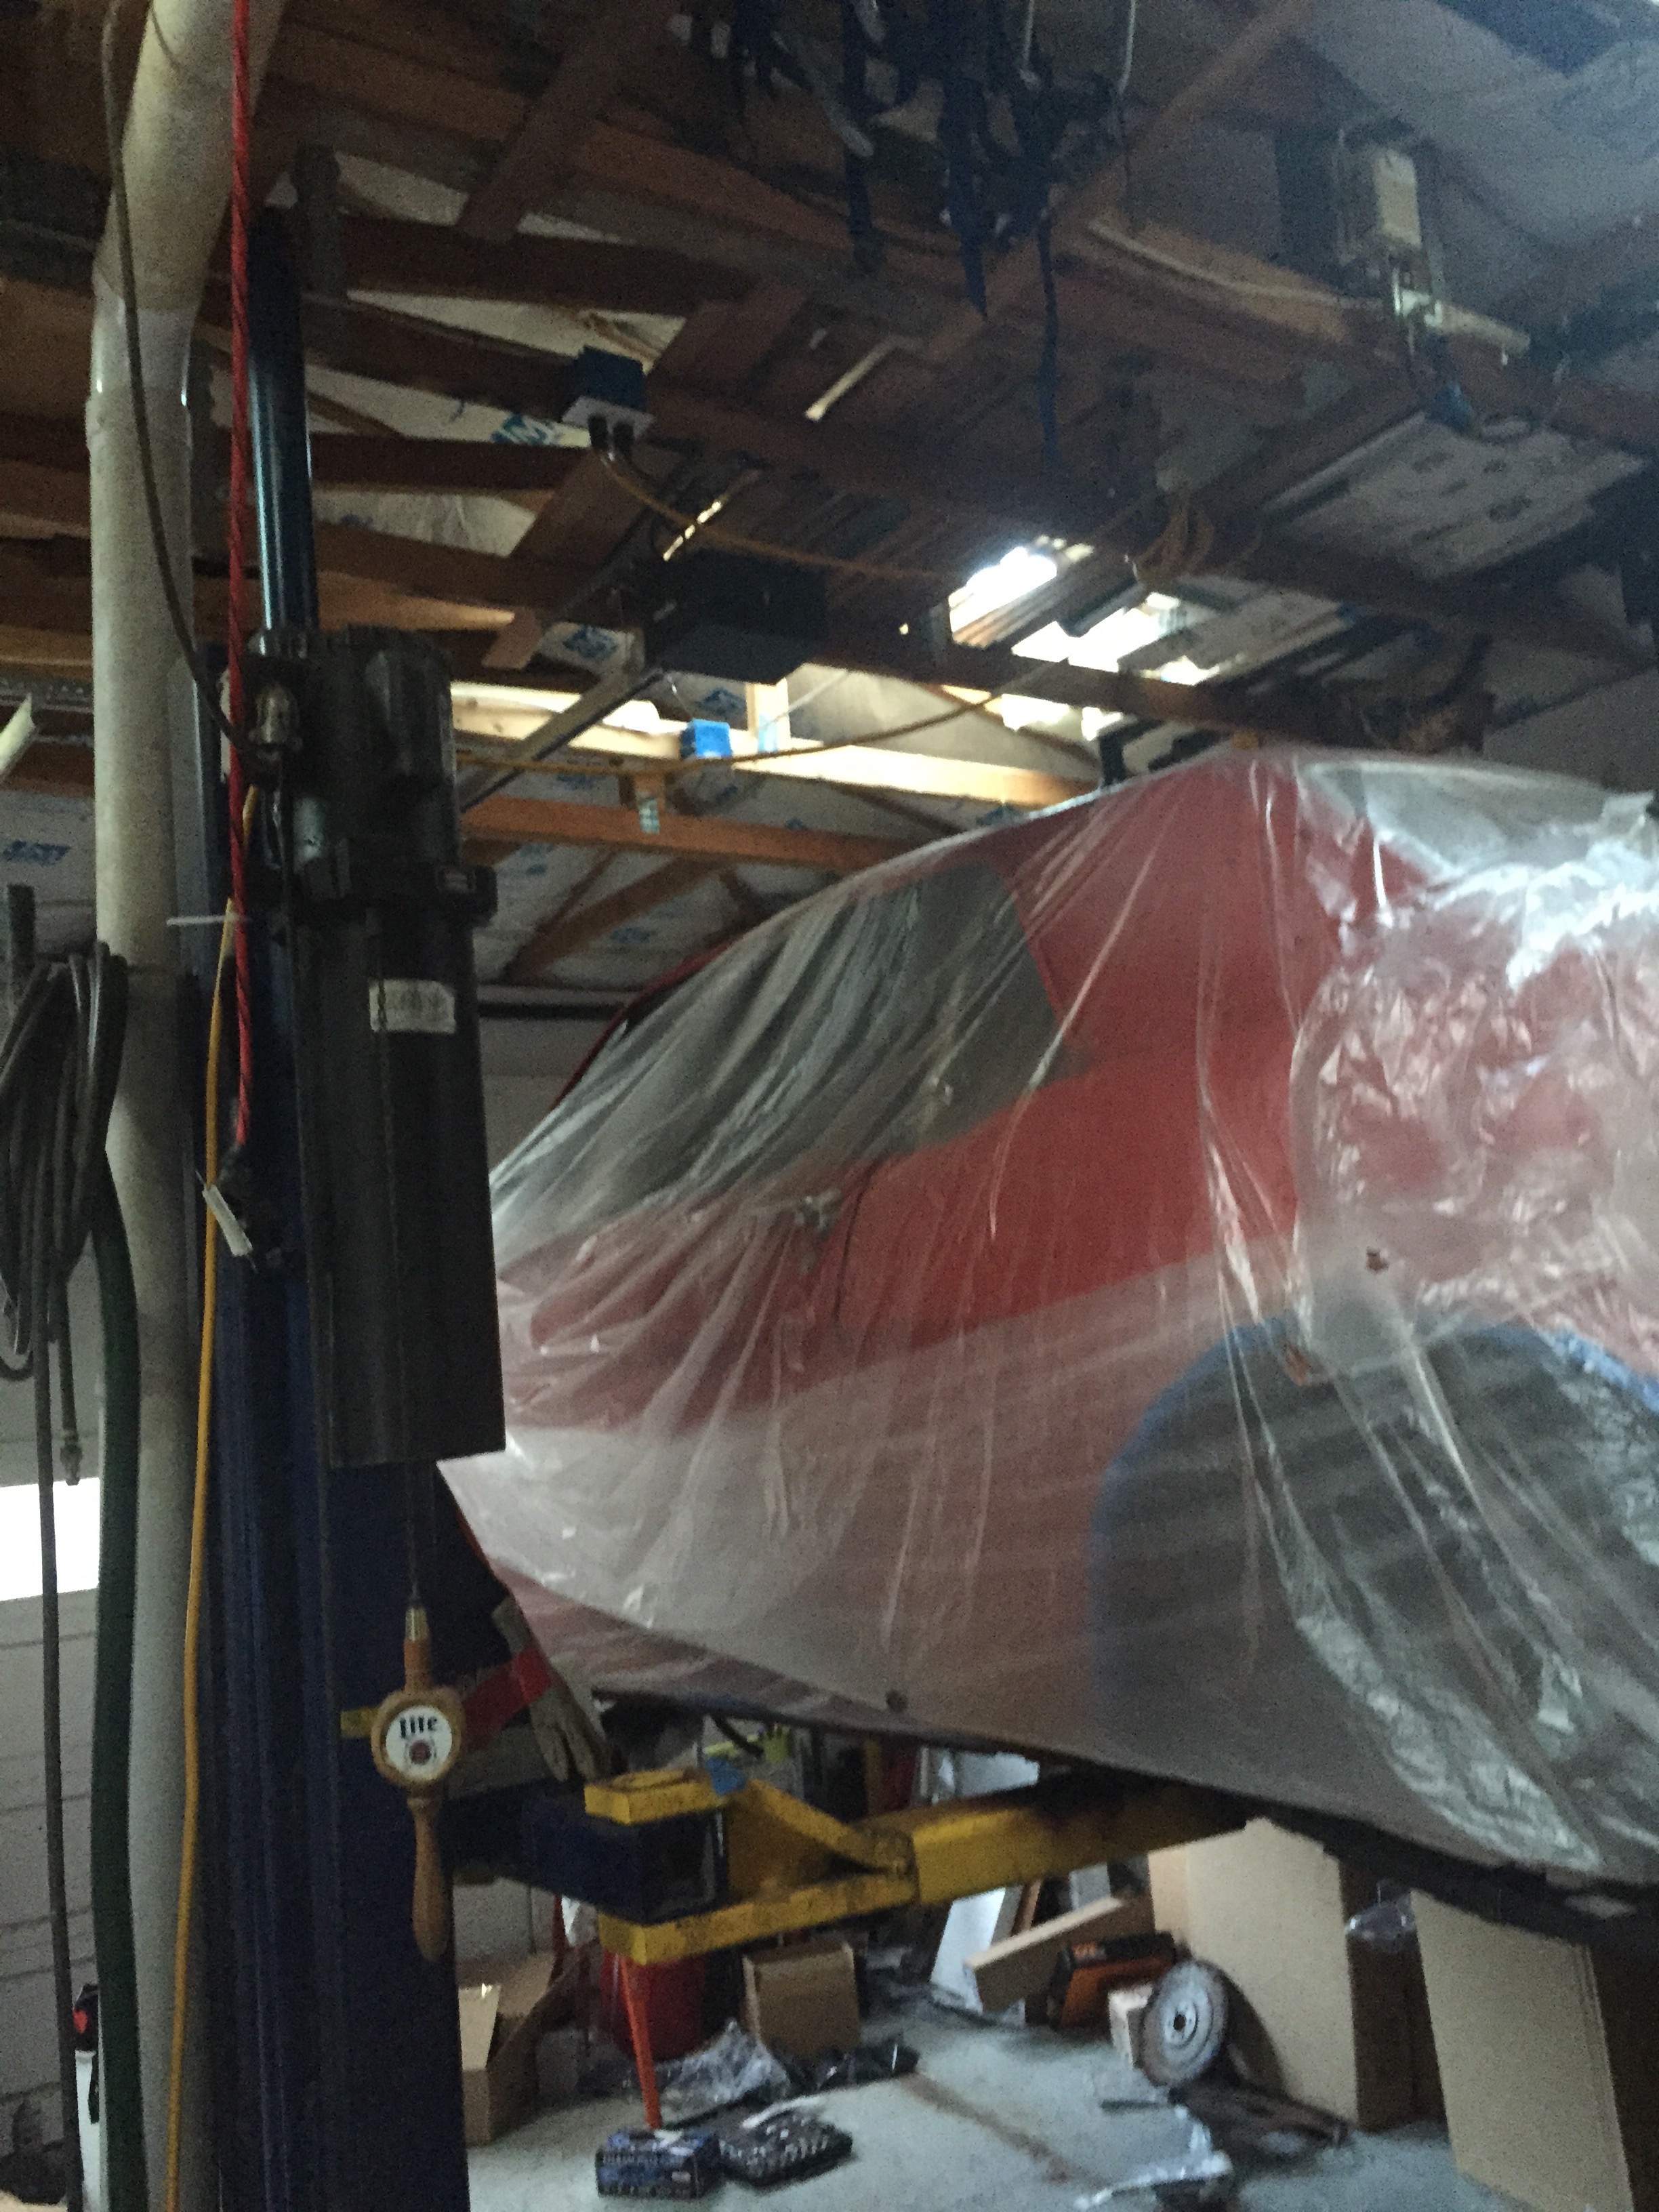
sprayed a small bit of the car paint with the pressure washer and it disintigrated instantly. In order to ensure
this didn't happen, we covered the car with dark plastic wrap and taped that wrap to floor to contain the water as much as possible.
David, Alec and I would then take shifts under the car with the pressure washer while another person was vacuuming up the excess
water from the opening we left in the plastic. Despite speeding up the rust removal process drastically, it still took a long time to remove the remainder of the rust.
Spray Painting: Fall 2015
After the rust was removed, we covered the body of the car that did not previously have rust with a layer of plastic.
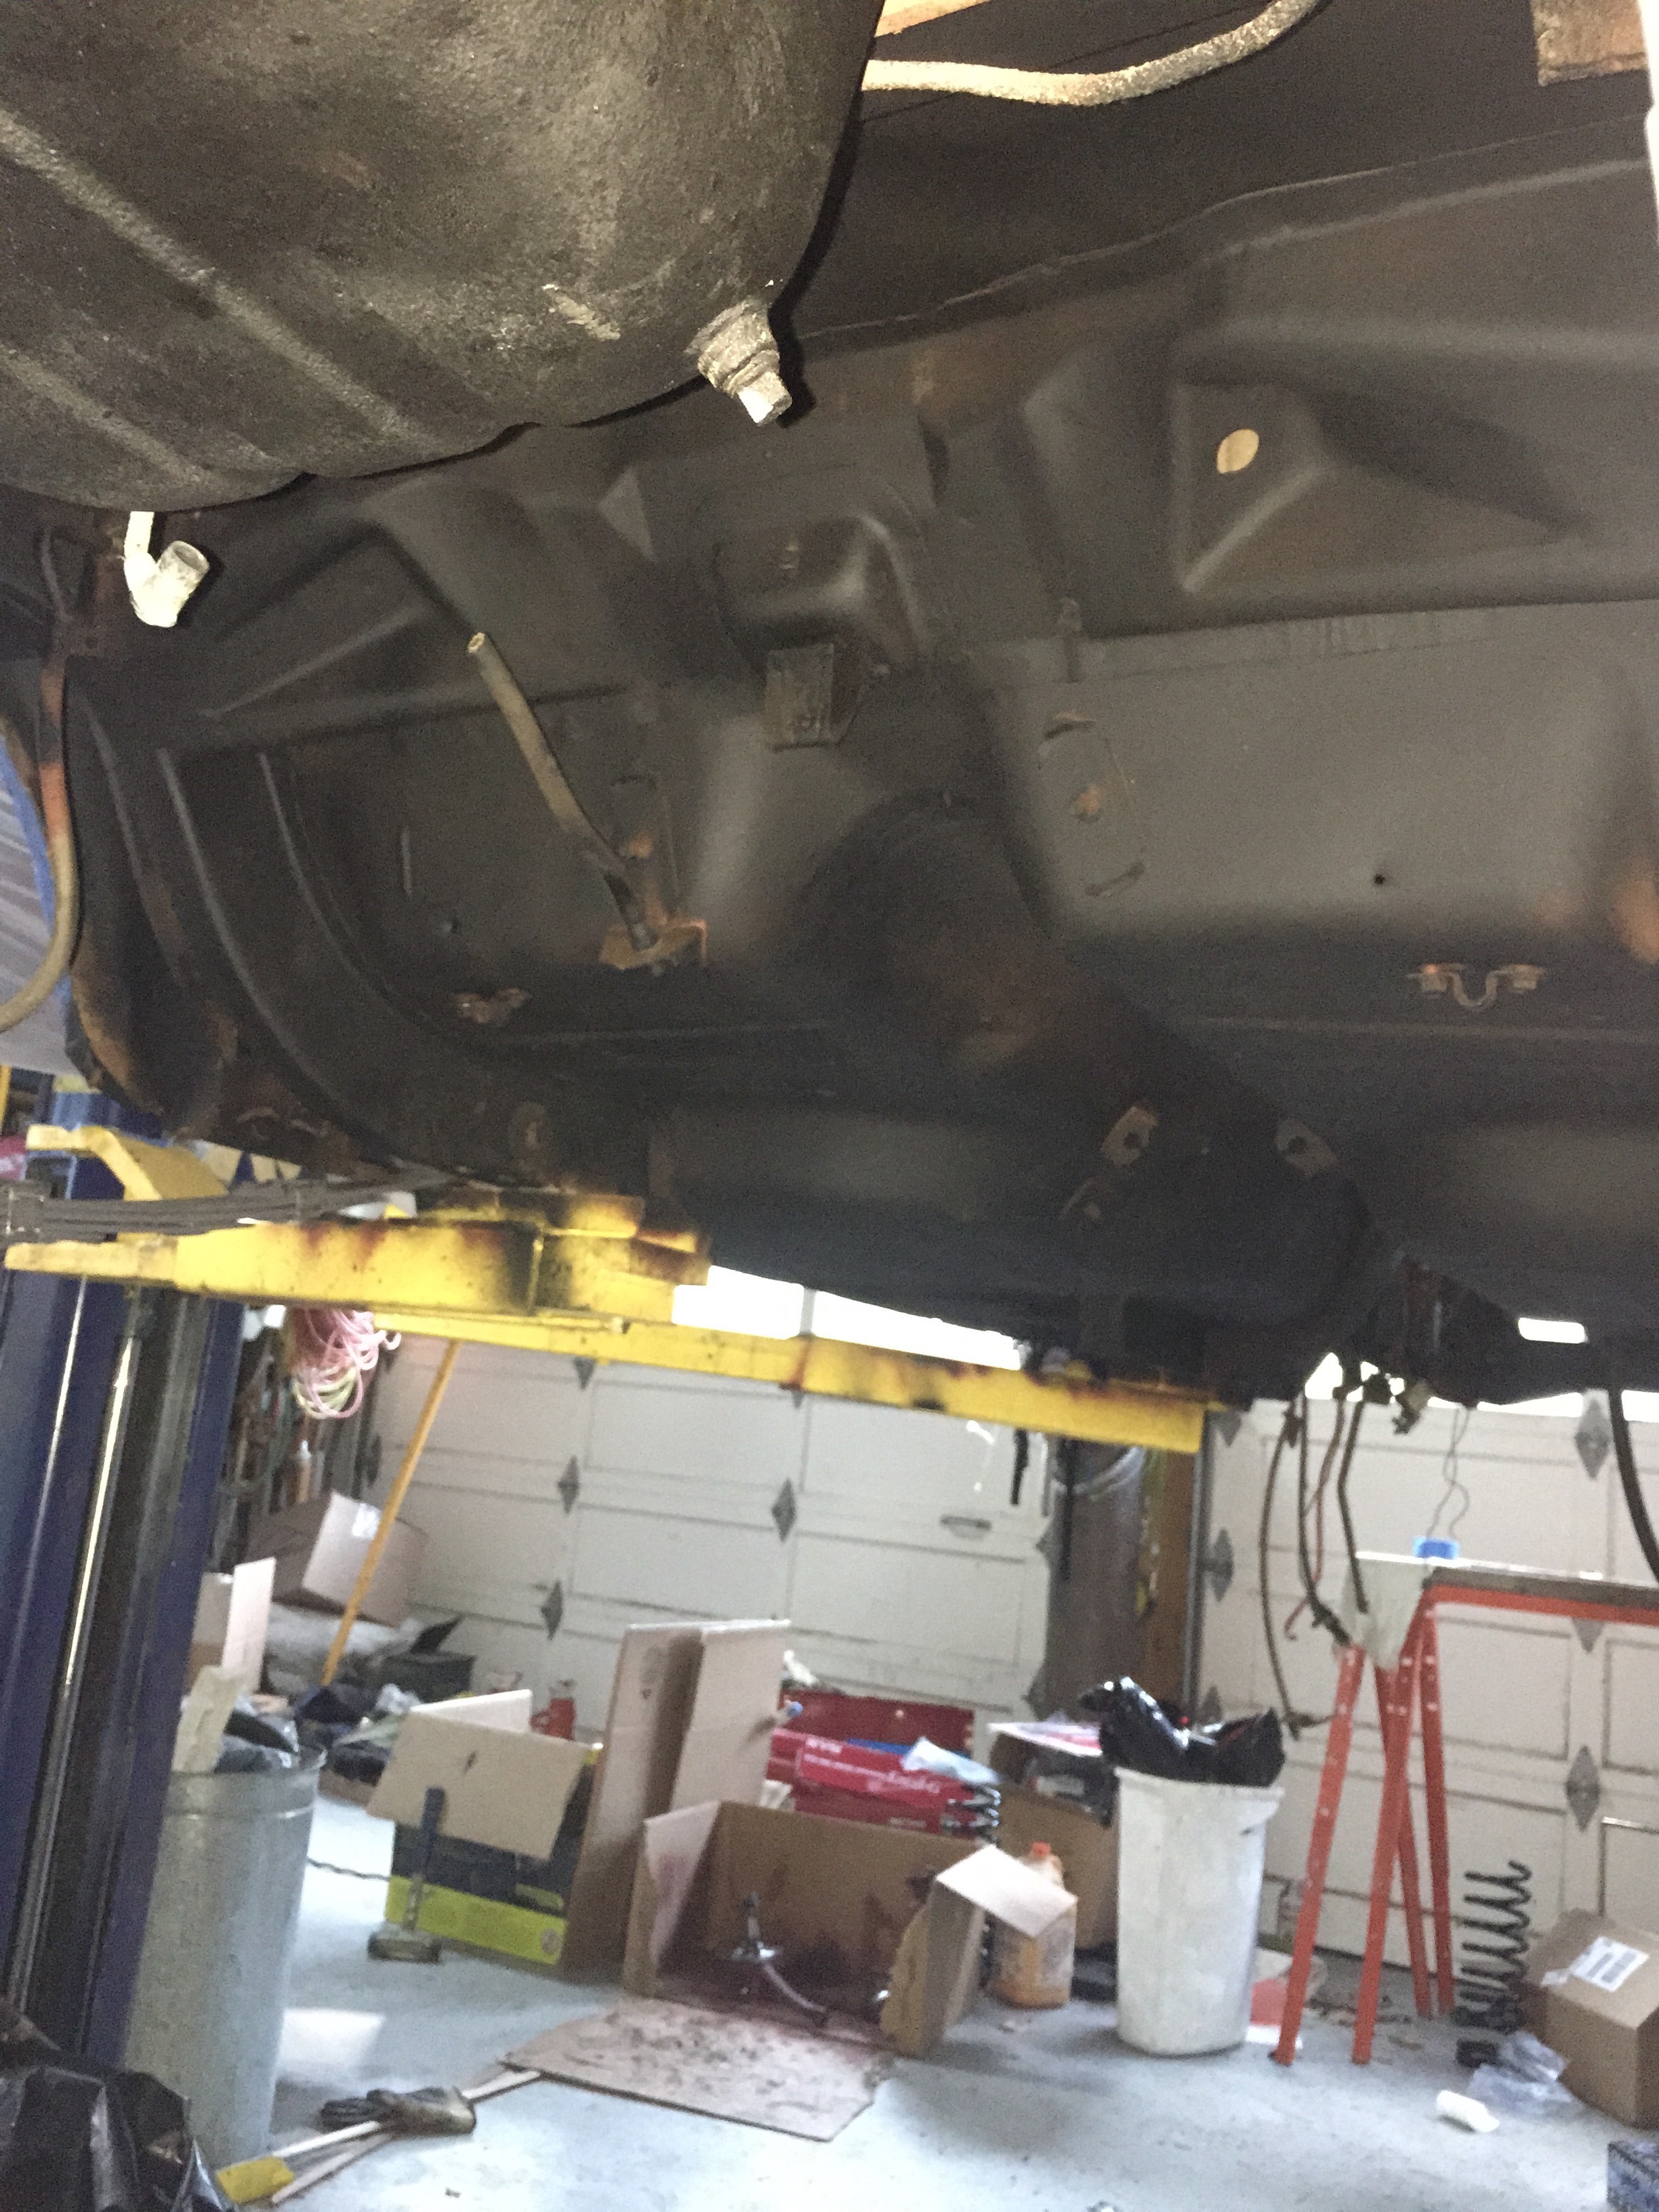
After double checking that the entire car was covered, we sprayed the entire underside of the car with a coating of a rust protection compound.
Upon completing this layer, we sprayed the underside again with yet another layer of the same compound. Finally, after completing that layer,
we sprayed the underside with a layer of black spraypaint. Although this process also took an agonizingly long time, it turned out really good
and everytime I open the hood or look under the car I am reminded of all the hard work I put into making the underside of the car look as prestine
as possible.
Despite being under the impression that it was finally time to start putting pieces back together, we started taking out even more.
This included stripping the interior, which included the heater pictured above, the seats in addition to many other parts.
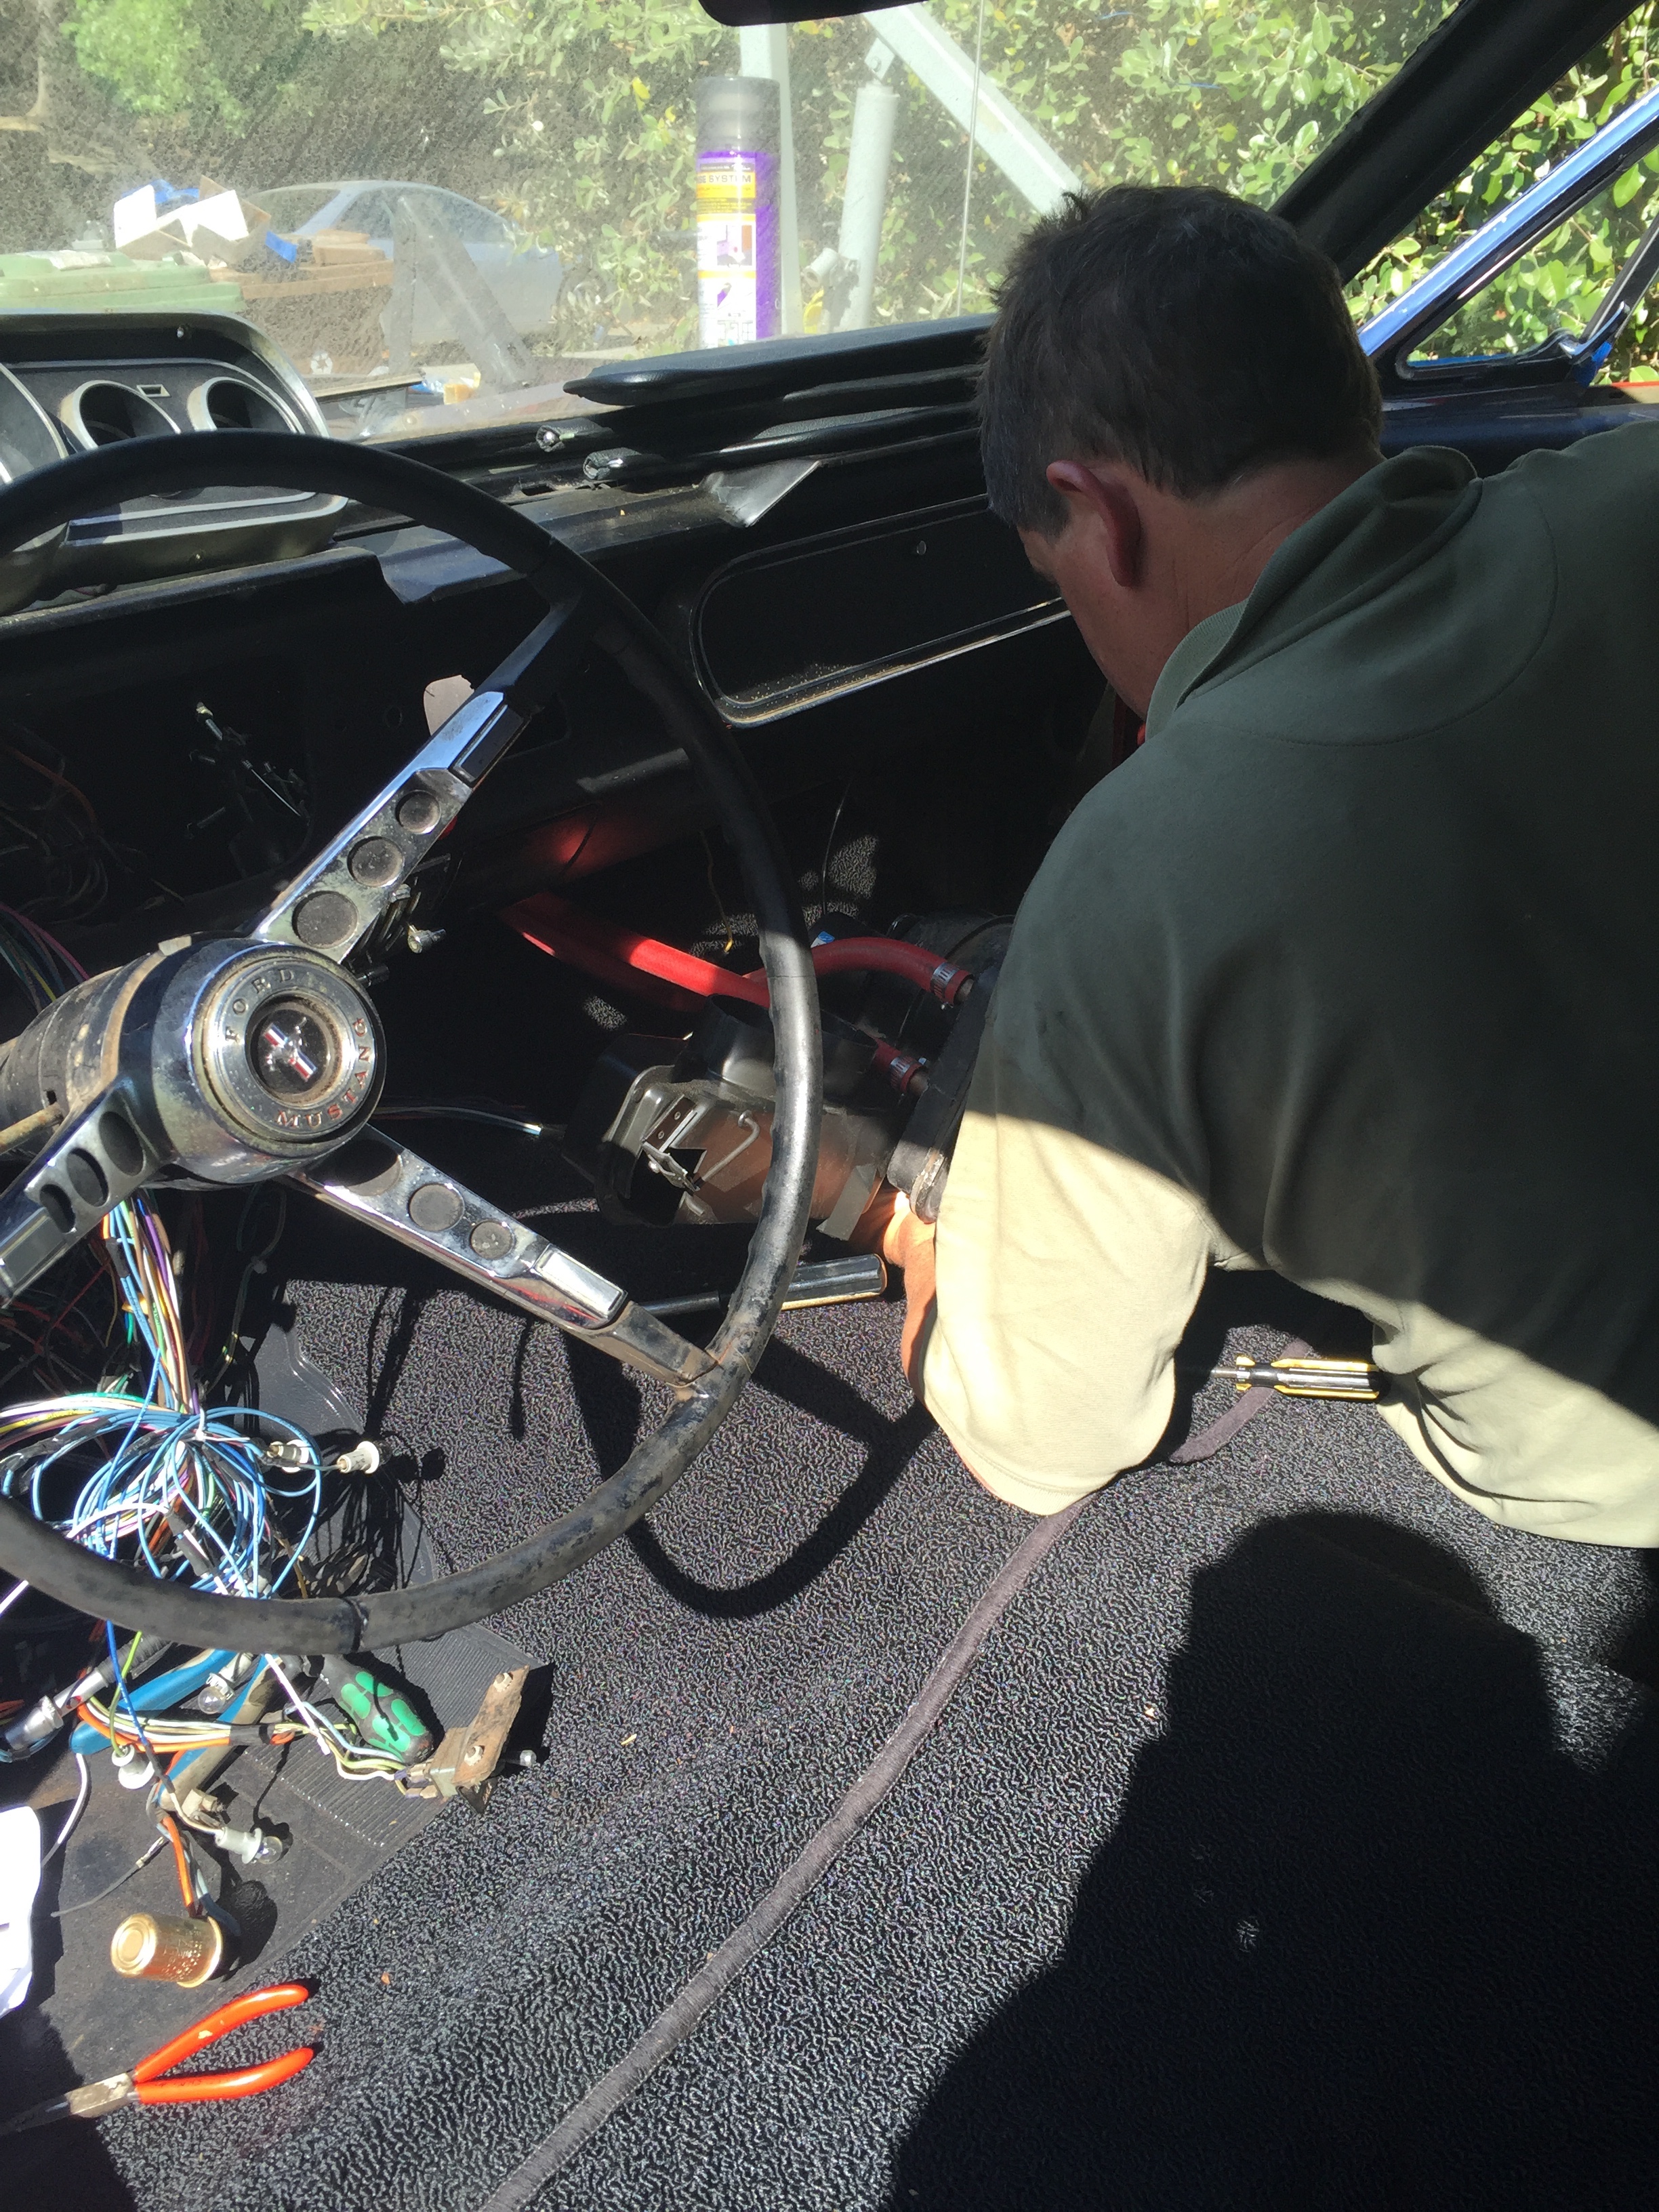
Wiring: Winter 2015 - End
At this point the Mustang was stripped to essentially a bare frame as nearly everything was removed excluding the steering column.
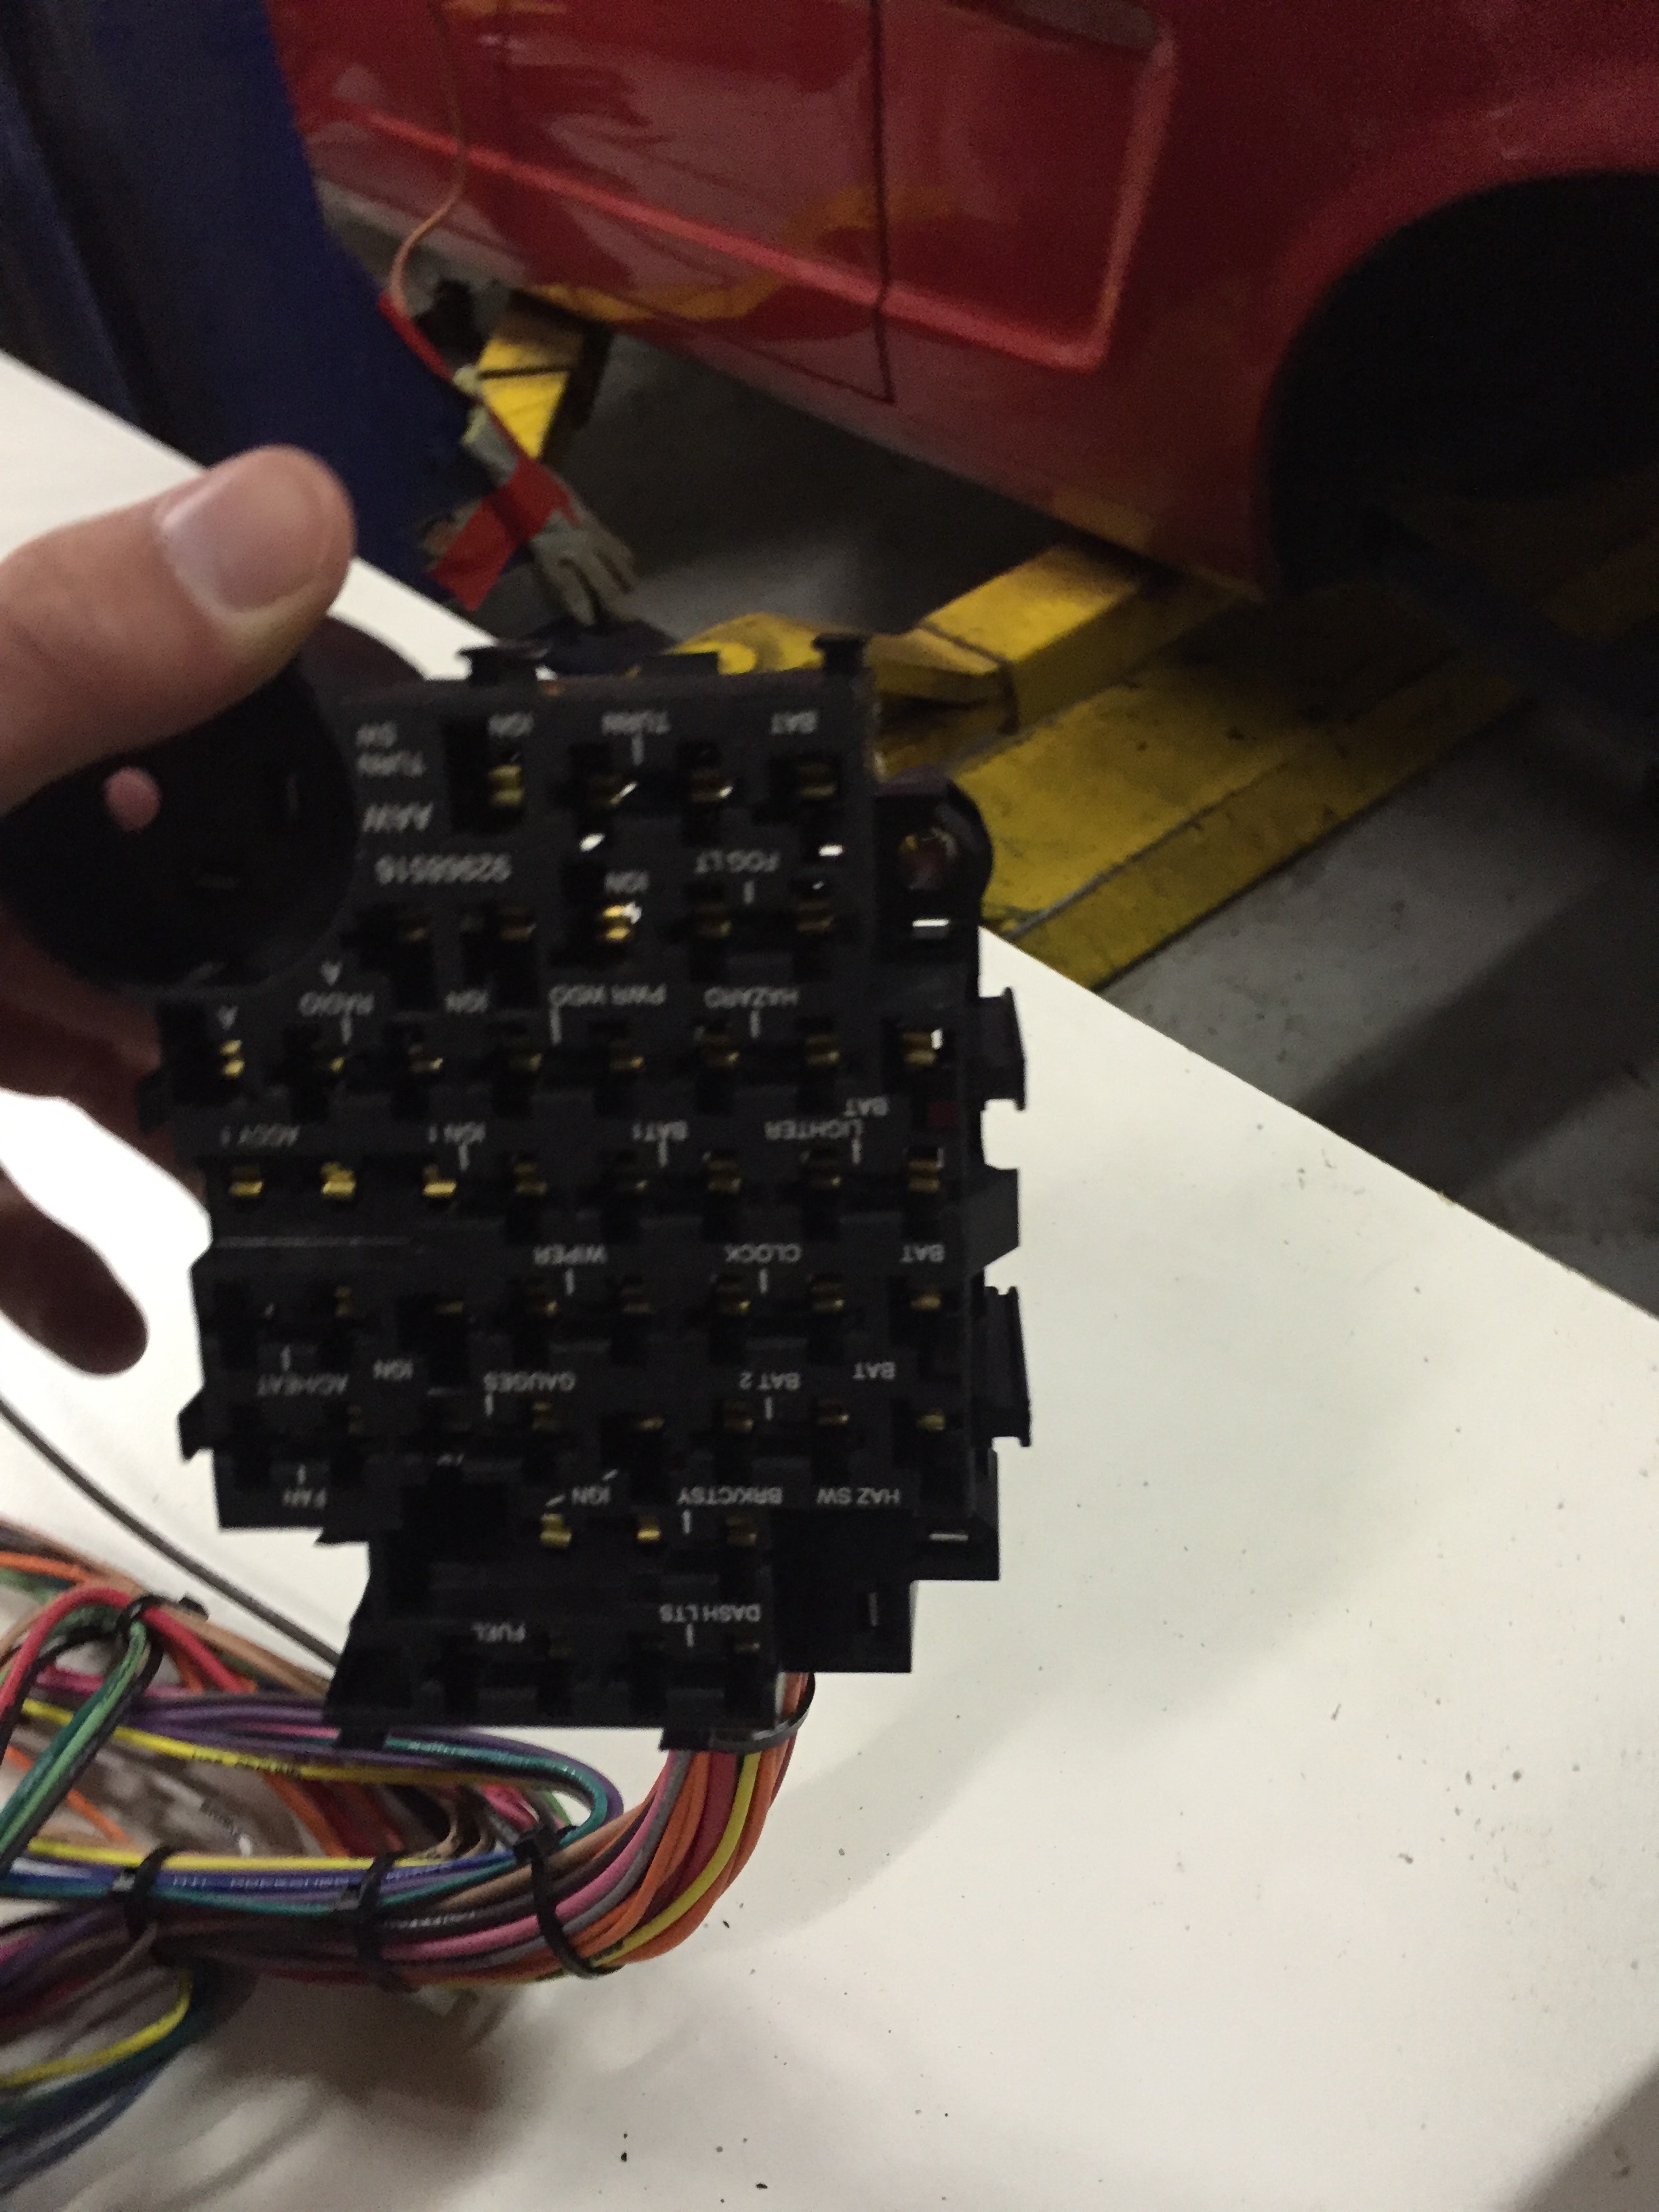
The wires are all well hidden to prevent a messy look, but that also makes them much more difficult to work with. Thus it was almost essential that the entire car be stripped to the frame like it was.
Even with a plan of using the previous wiring harness as a guide for the new one and using wires that were already in place to help thread new wires
through tight holes, the process was still a very challenging. Much of the wiring work is done under the dash as that's where the wiring harness is mounted. Unfortunately, that also means that
much of the wiring is done in a tight space in which it is hard to see and
there are a lot of sharp portruding objects.
Once the wiring harness was mounted and the wires were threaded to where they needed to go, we wrapped the wires with a protective plastic coating
and started soldering them to their respective connected parts. At first soldering was challenging, but as the project went on, I got quite comfortable soldering wires
and am now very confident in my soldering ability!

Engine: April 3rd, 2016
After much time with a near empty engine bay, it was finally time to
put the engine back in. This operation was strategically timed such that by this point in time,
most of the tasks that required space under the hood had already been completed. Putting the engine
in last allowed us to complete those tasks with as much ease as possible.
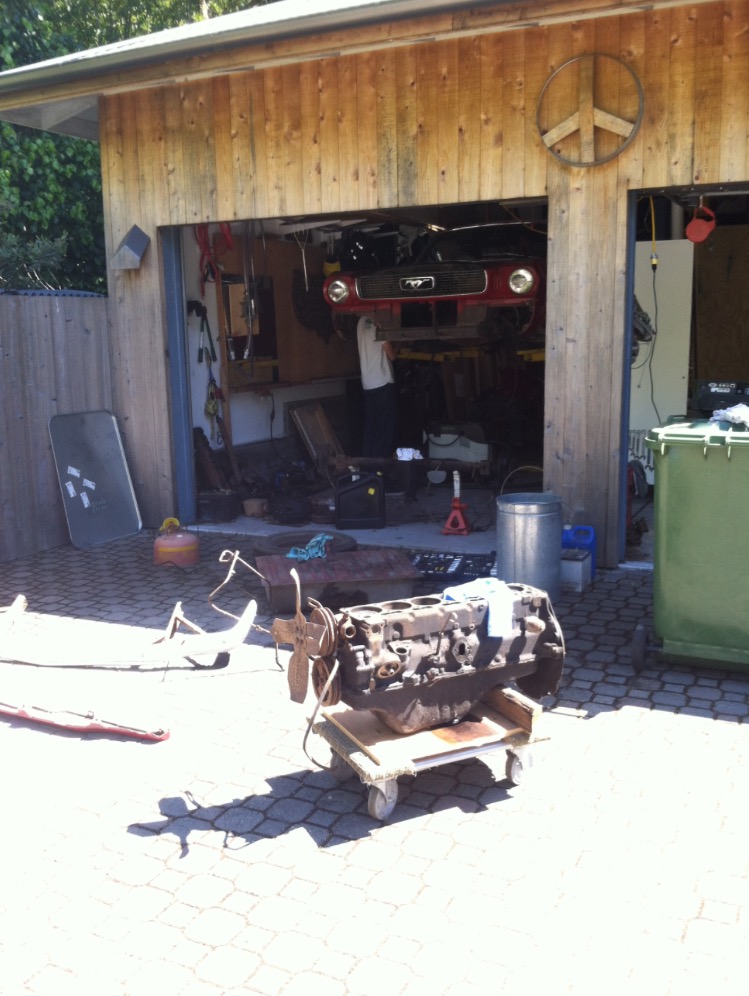
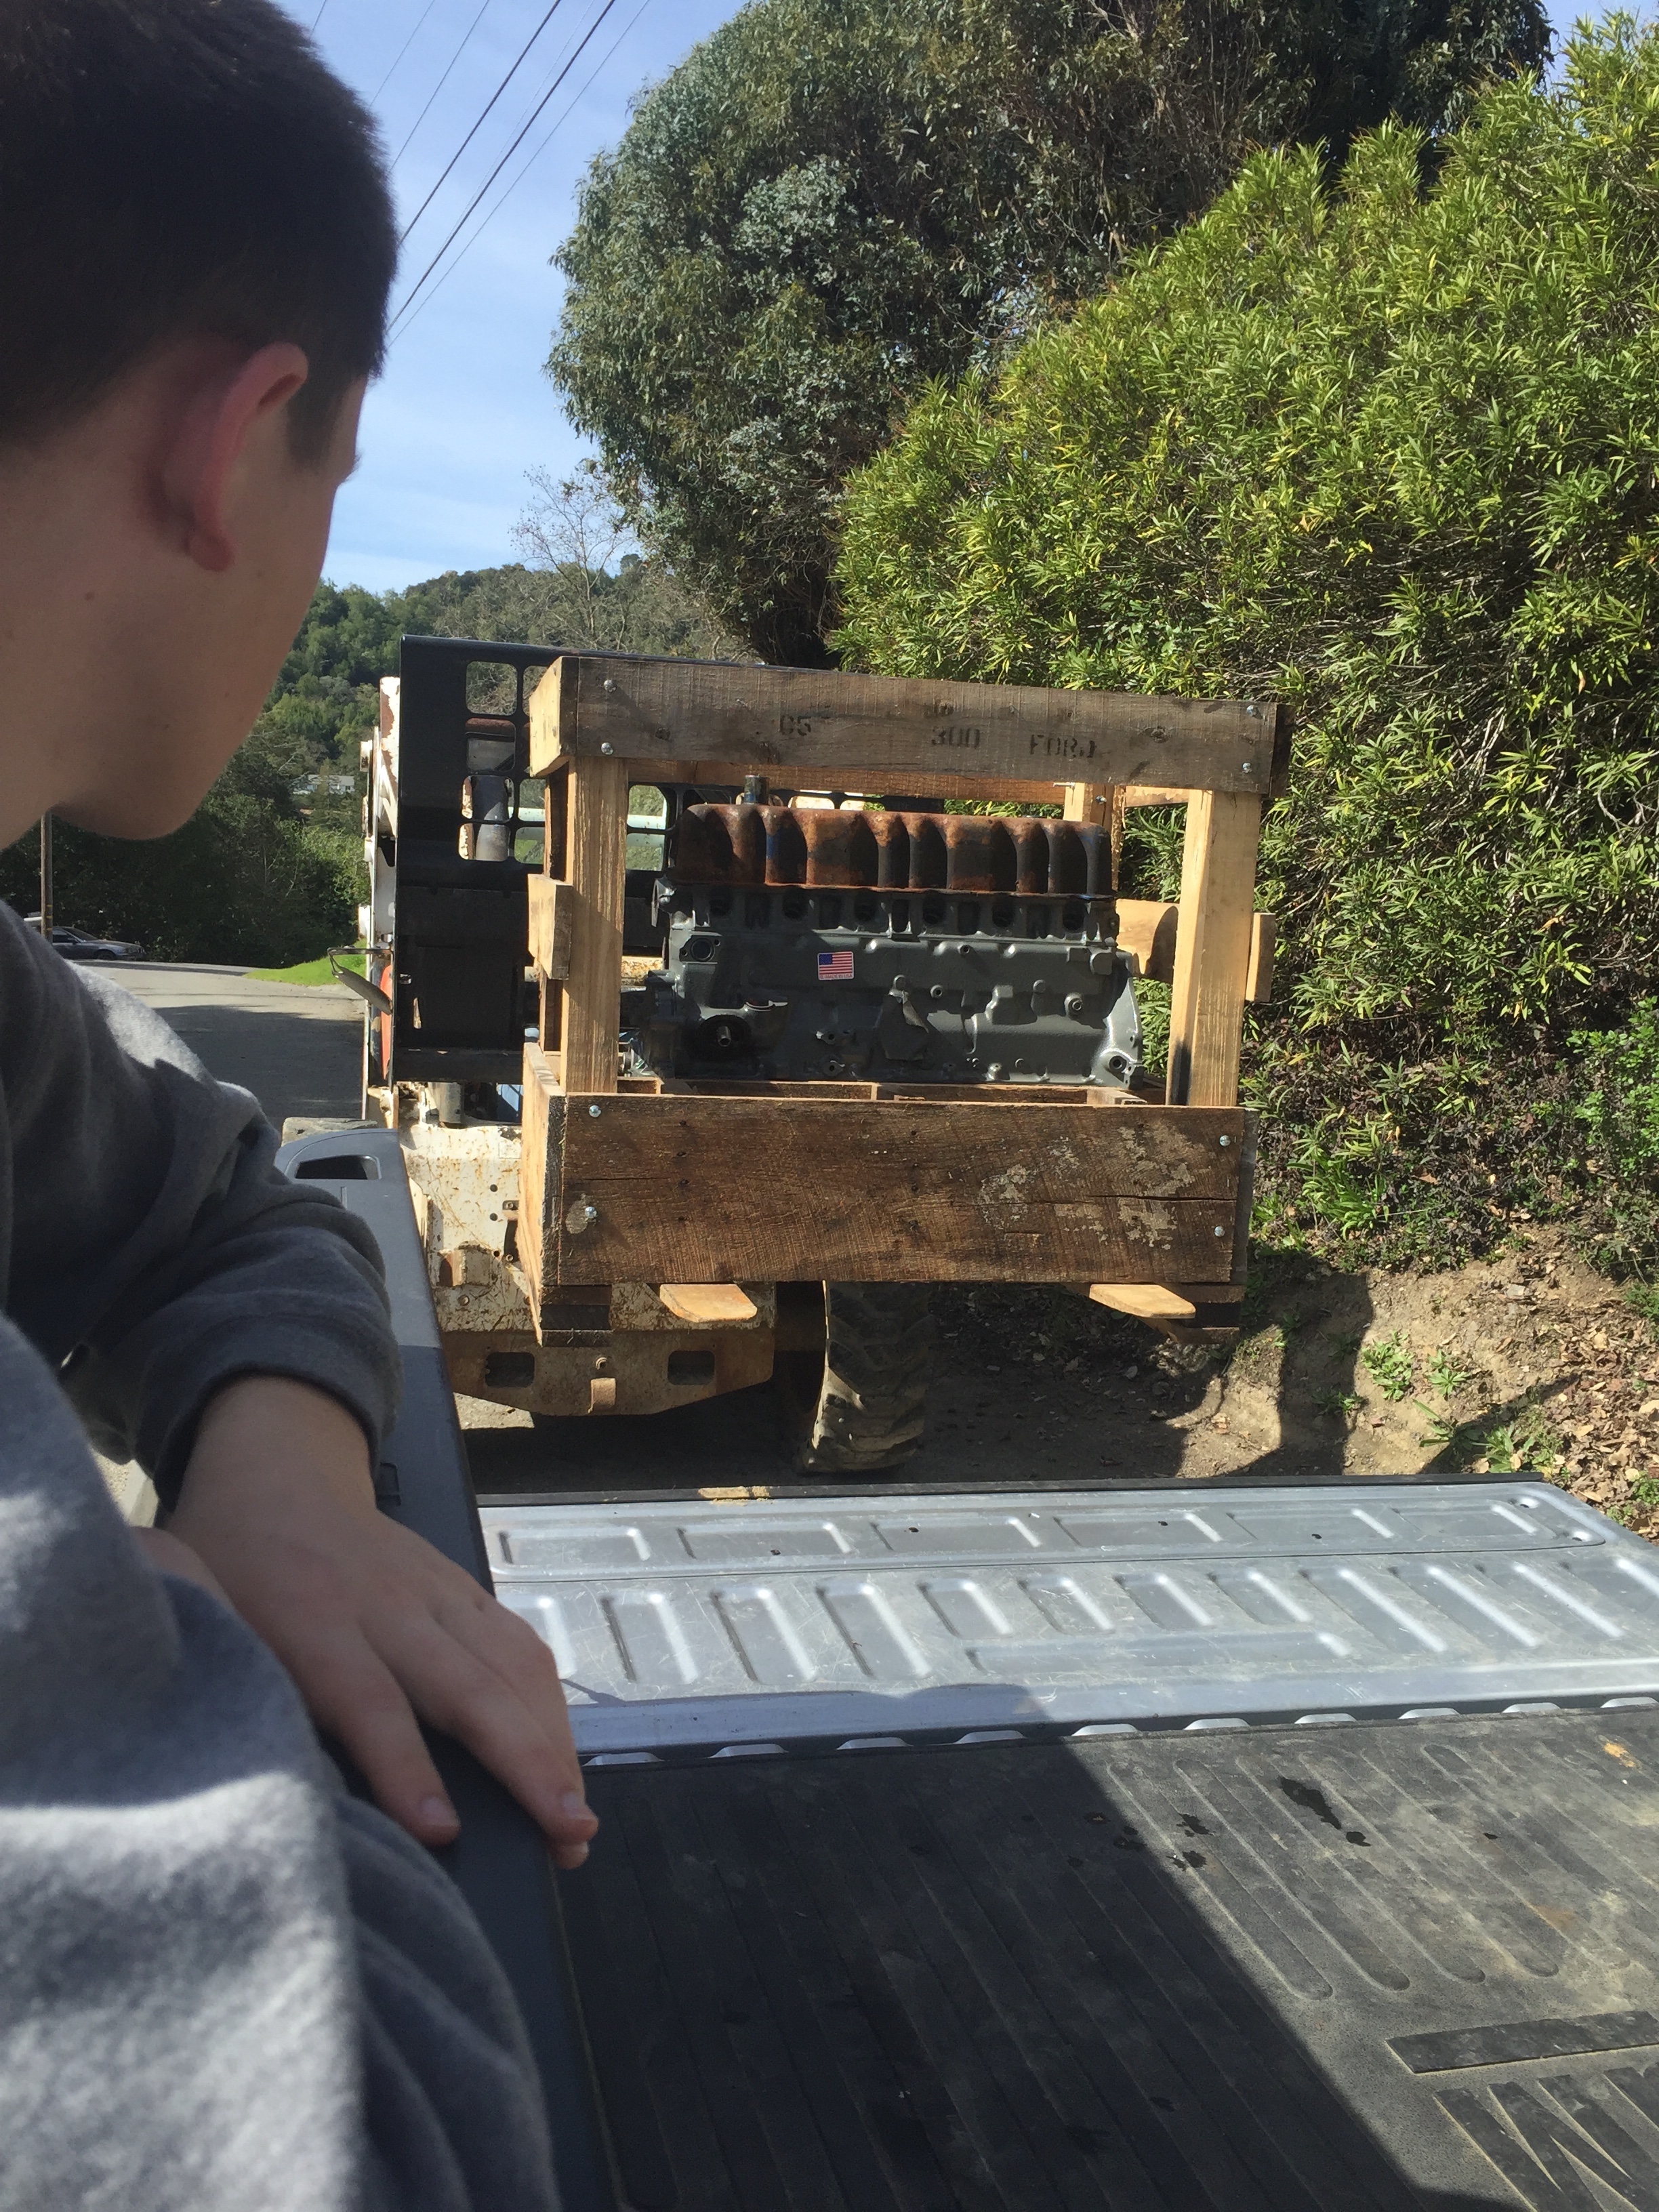
To put the engine back in place, we used a bobcat to lift the engine out of the bed of Peter's truck
and carry it over to where the mustang lay just outside the garage. We then used the engine lift
to lift the engine out of the wooden frame that was built around it.
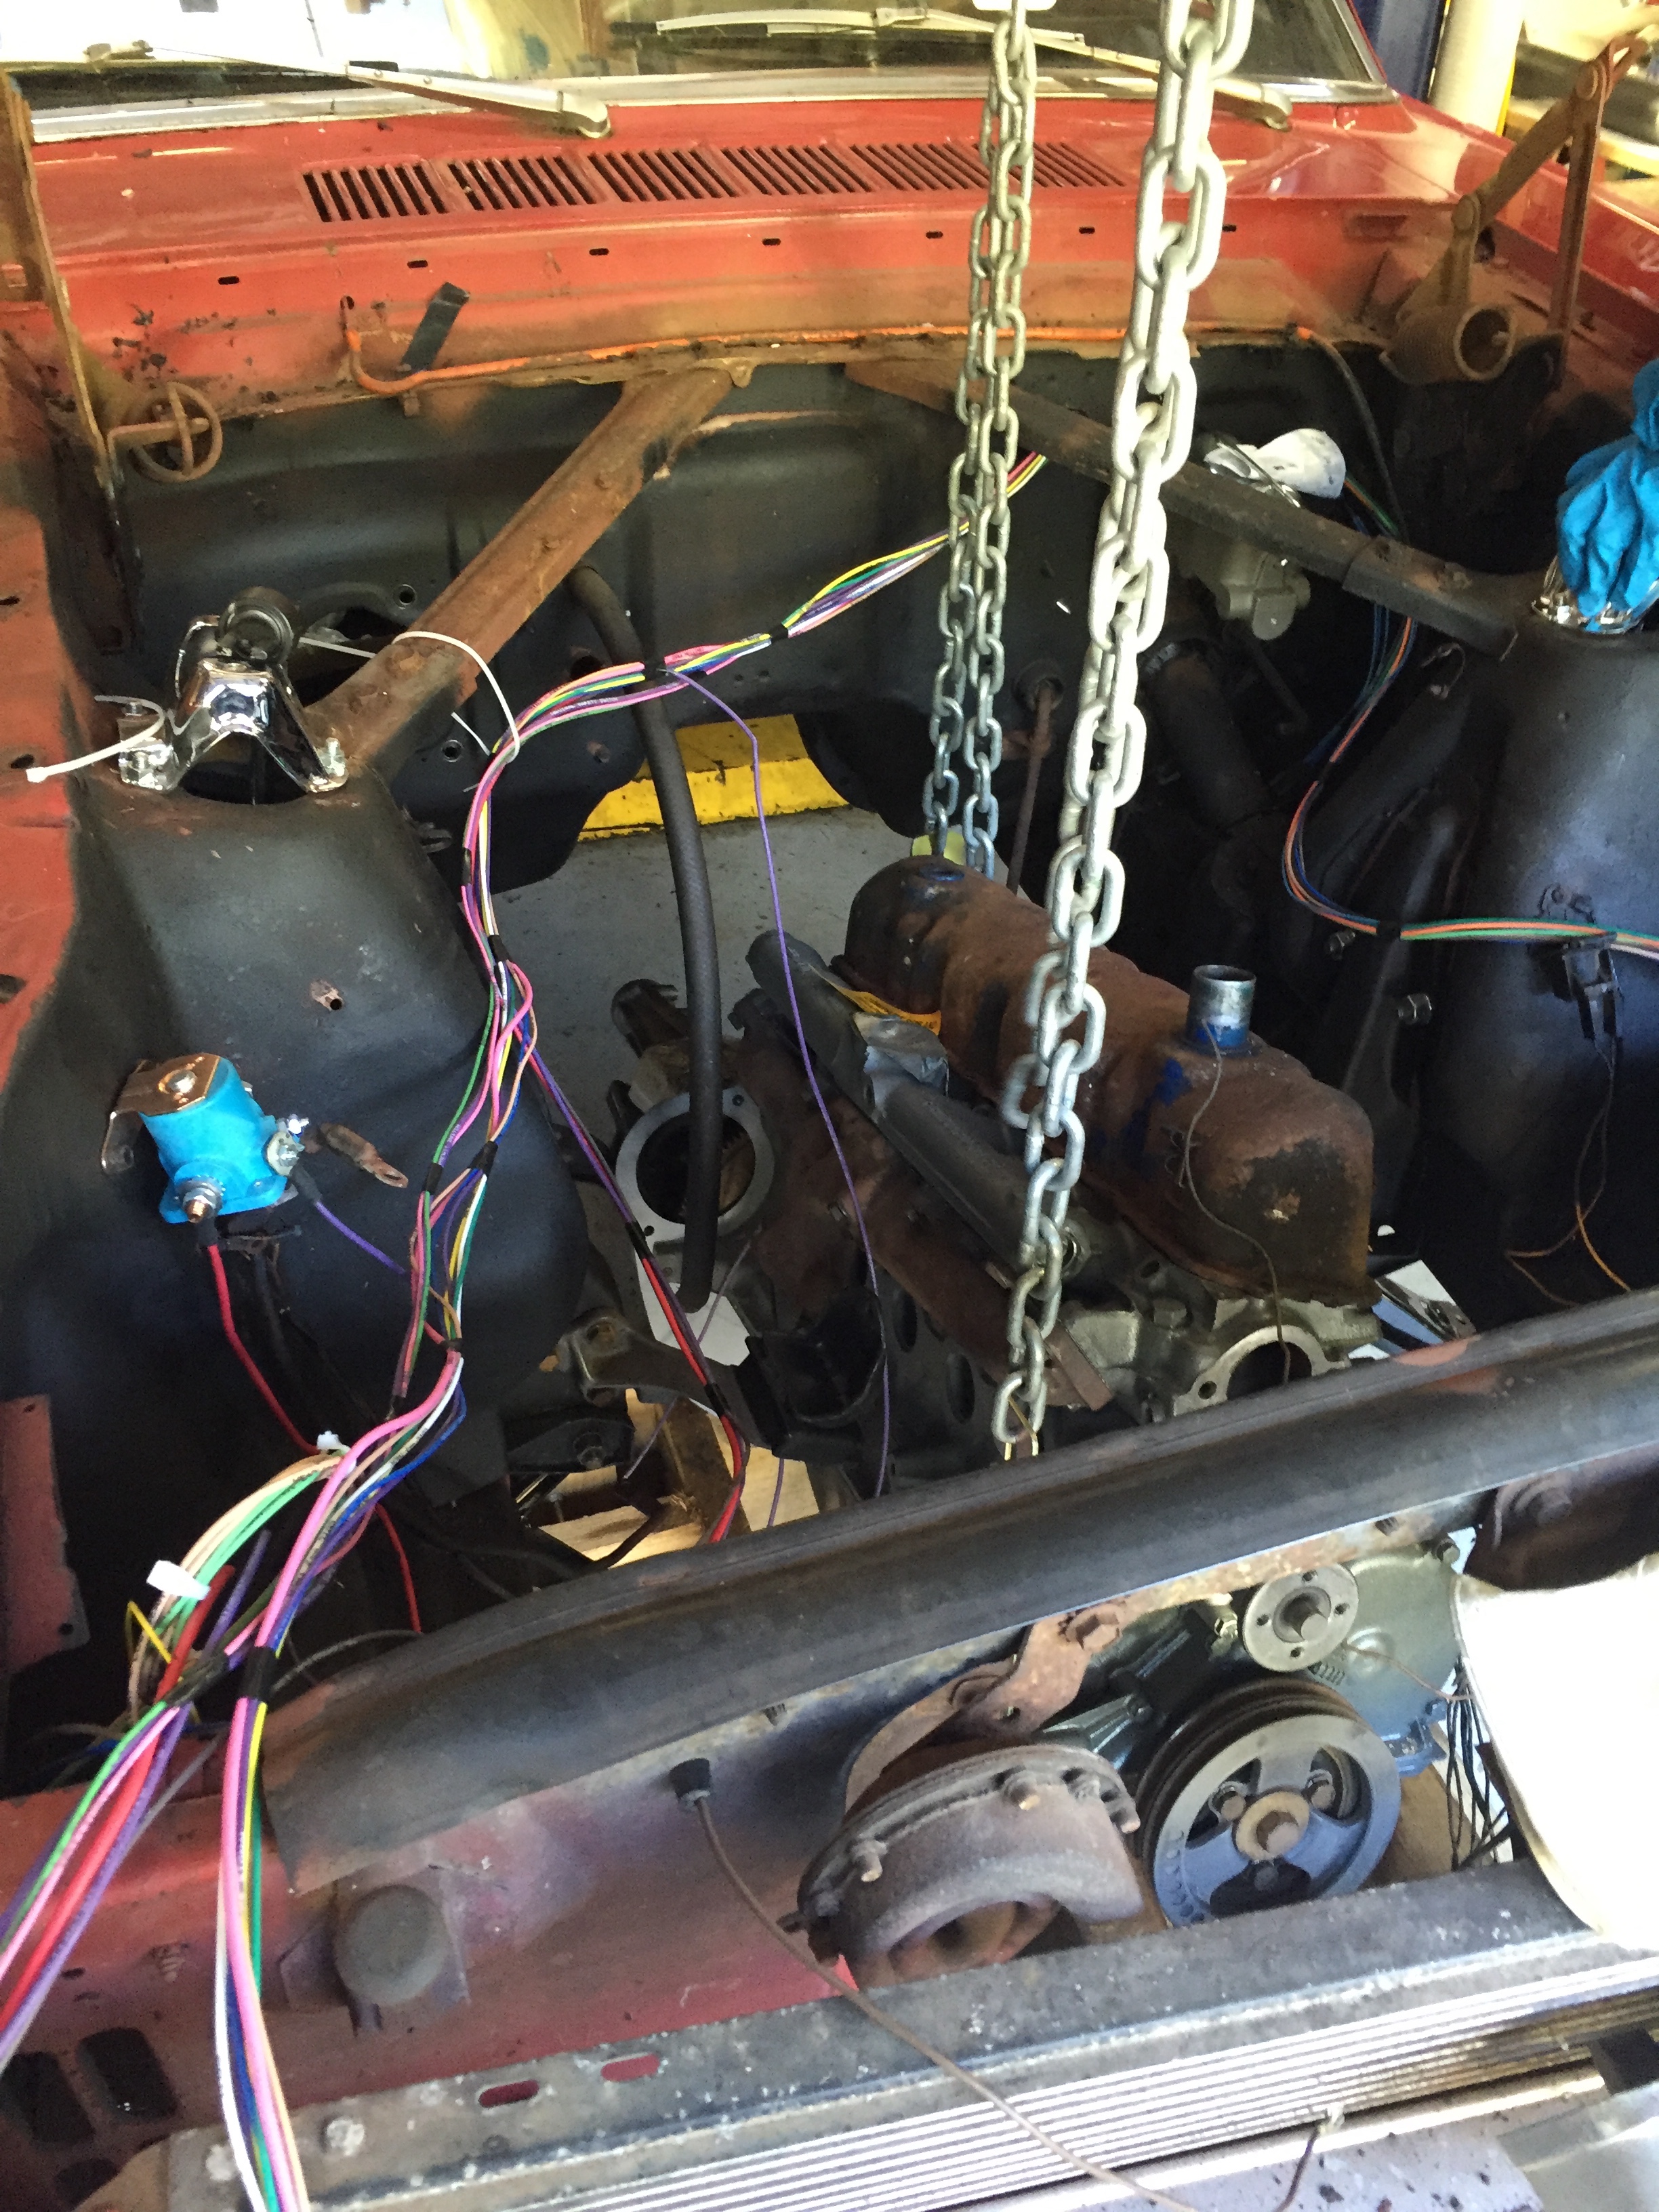
Very carefully and very slowly we then lifted the engine into place and started mounting it with the
same supports that we had removed many months ago. By the end of the day the engine was in place
and for the very first time it felt like the end was near.
Reconstructing: Summer-Winter 2016
For the next few months we replaced many of the car parts that we took out at the very beginning.
This proved to be challenging as by this point, many of the finer details about how we had taken out these
parts and information about how to reinsert them had been forgotten with time. Resulantly, we resorted to
watching a lot of informative videos and reading the car manual as to how to go about the part replacements.
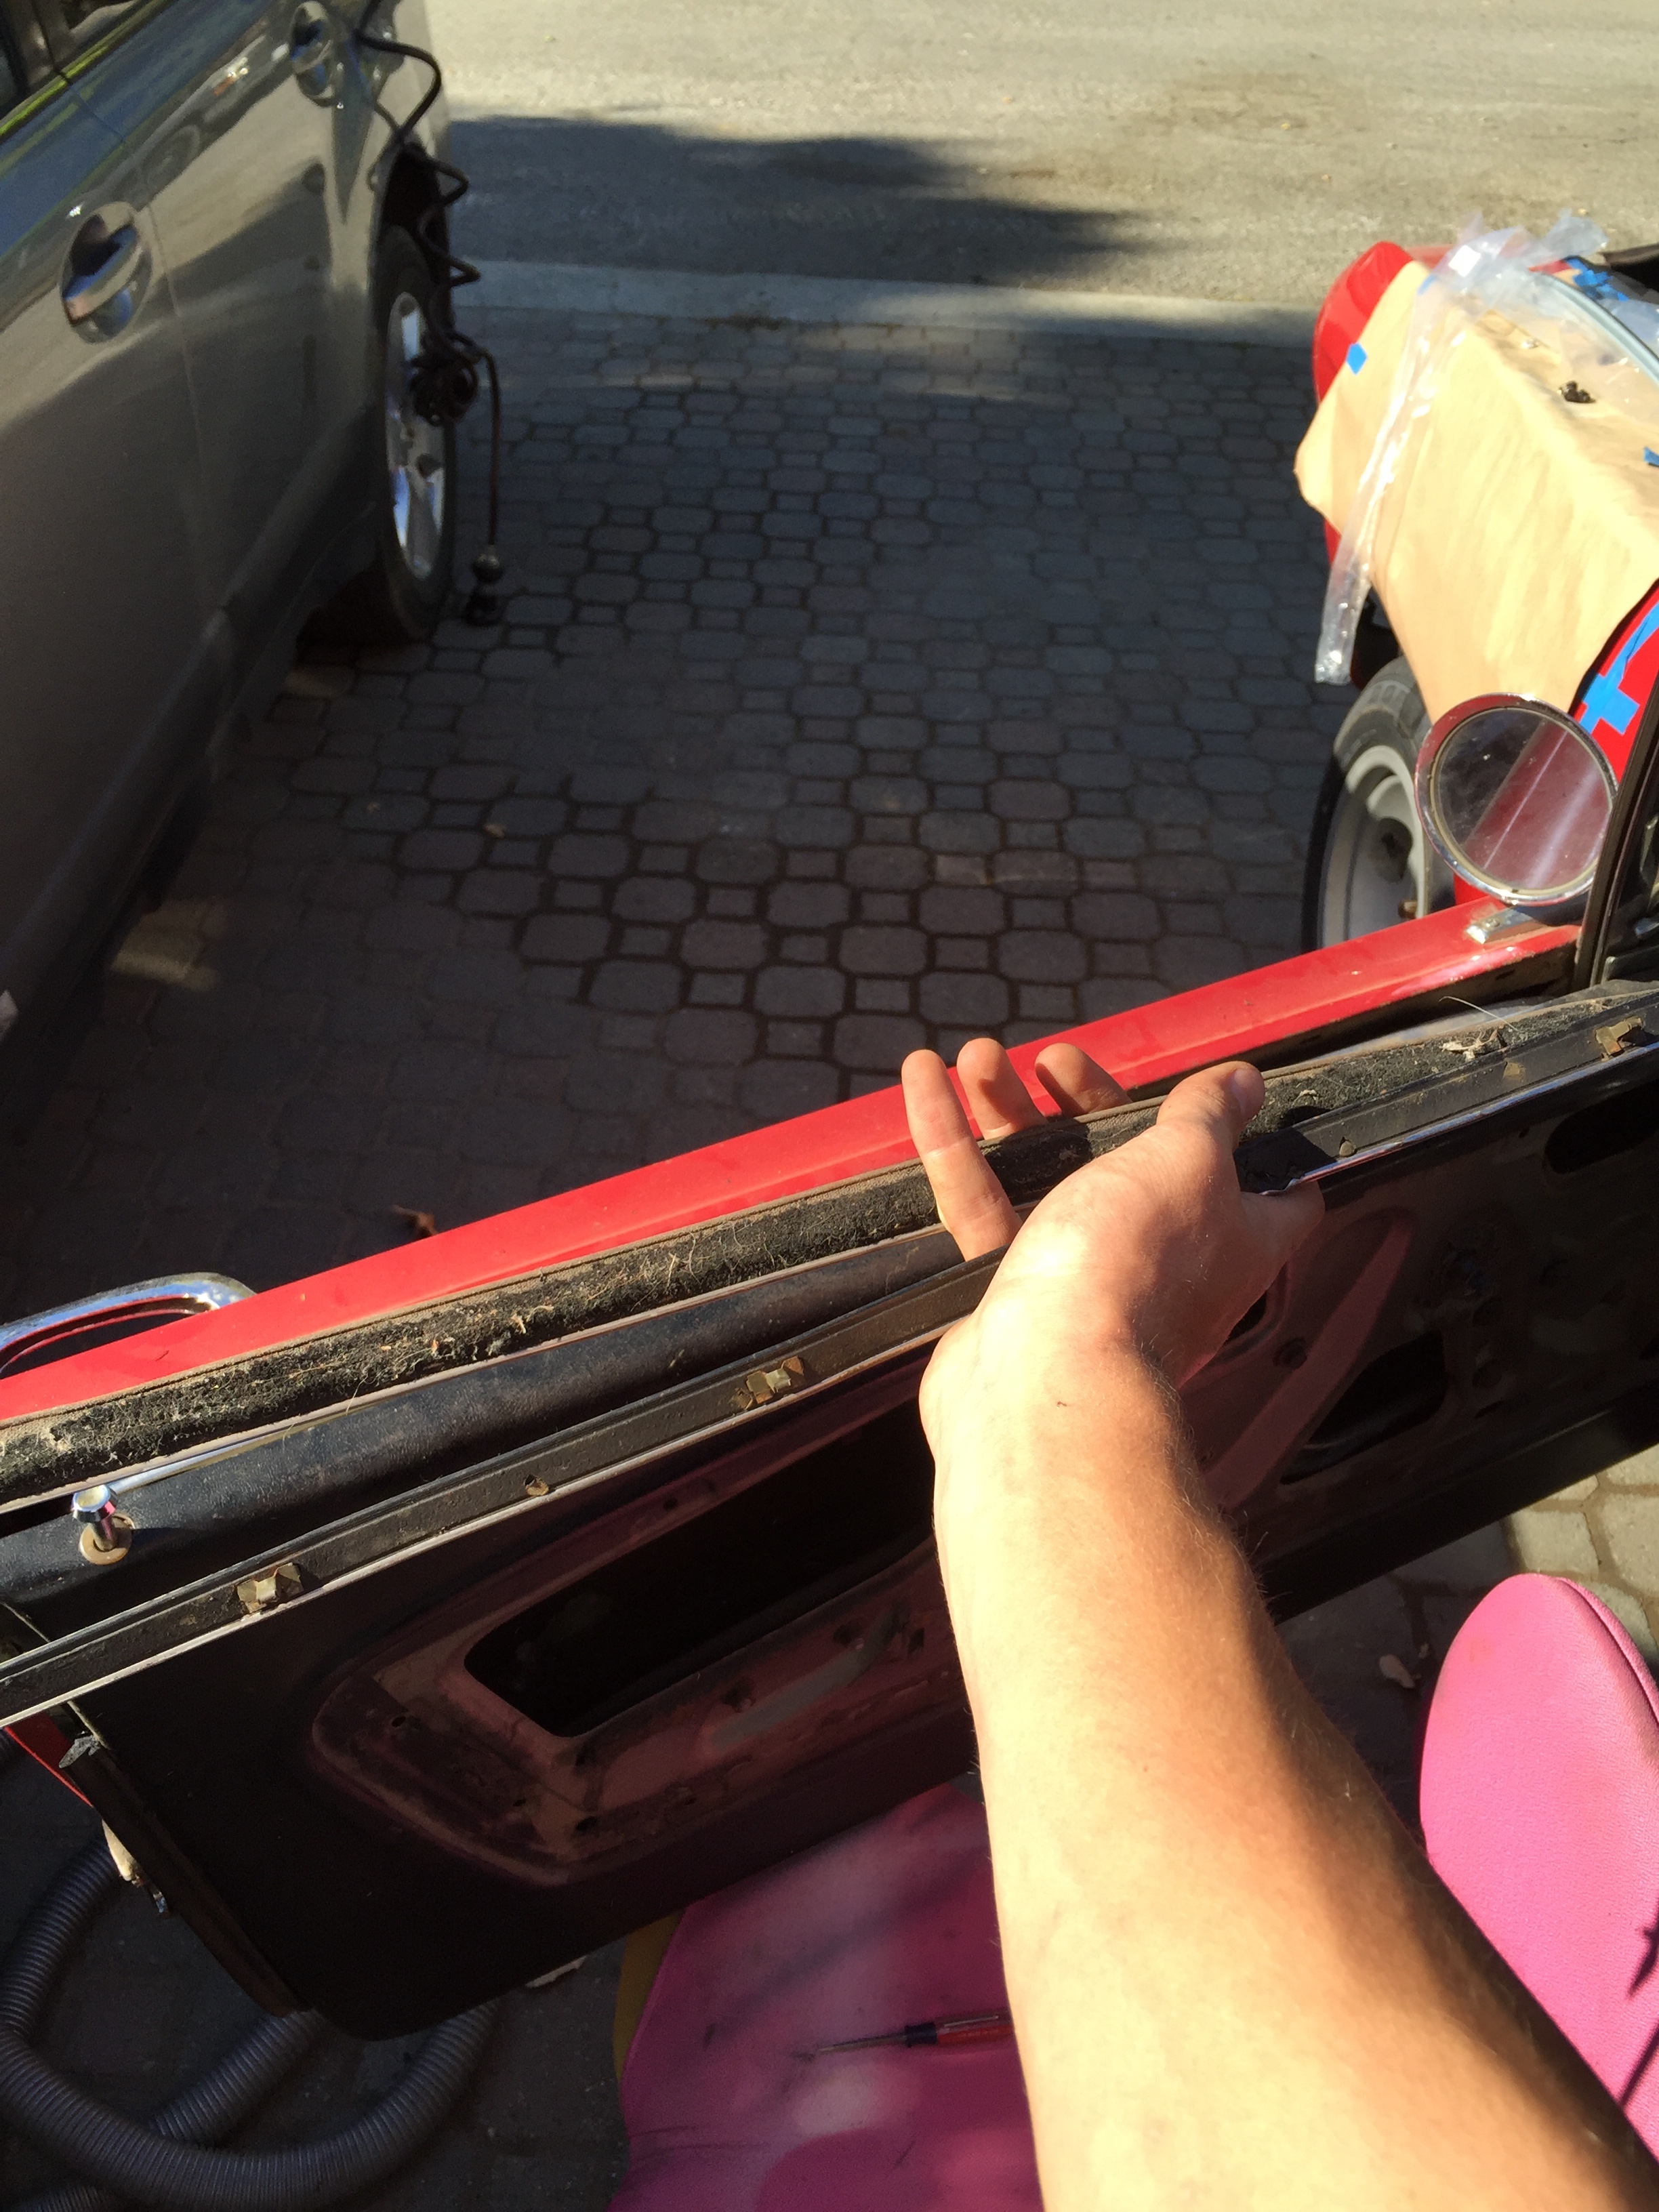
The pictures on the right depict the replacements of the weatherstripping for the windows and the heater.
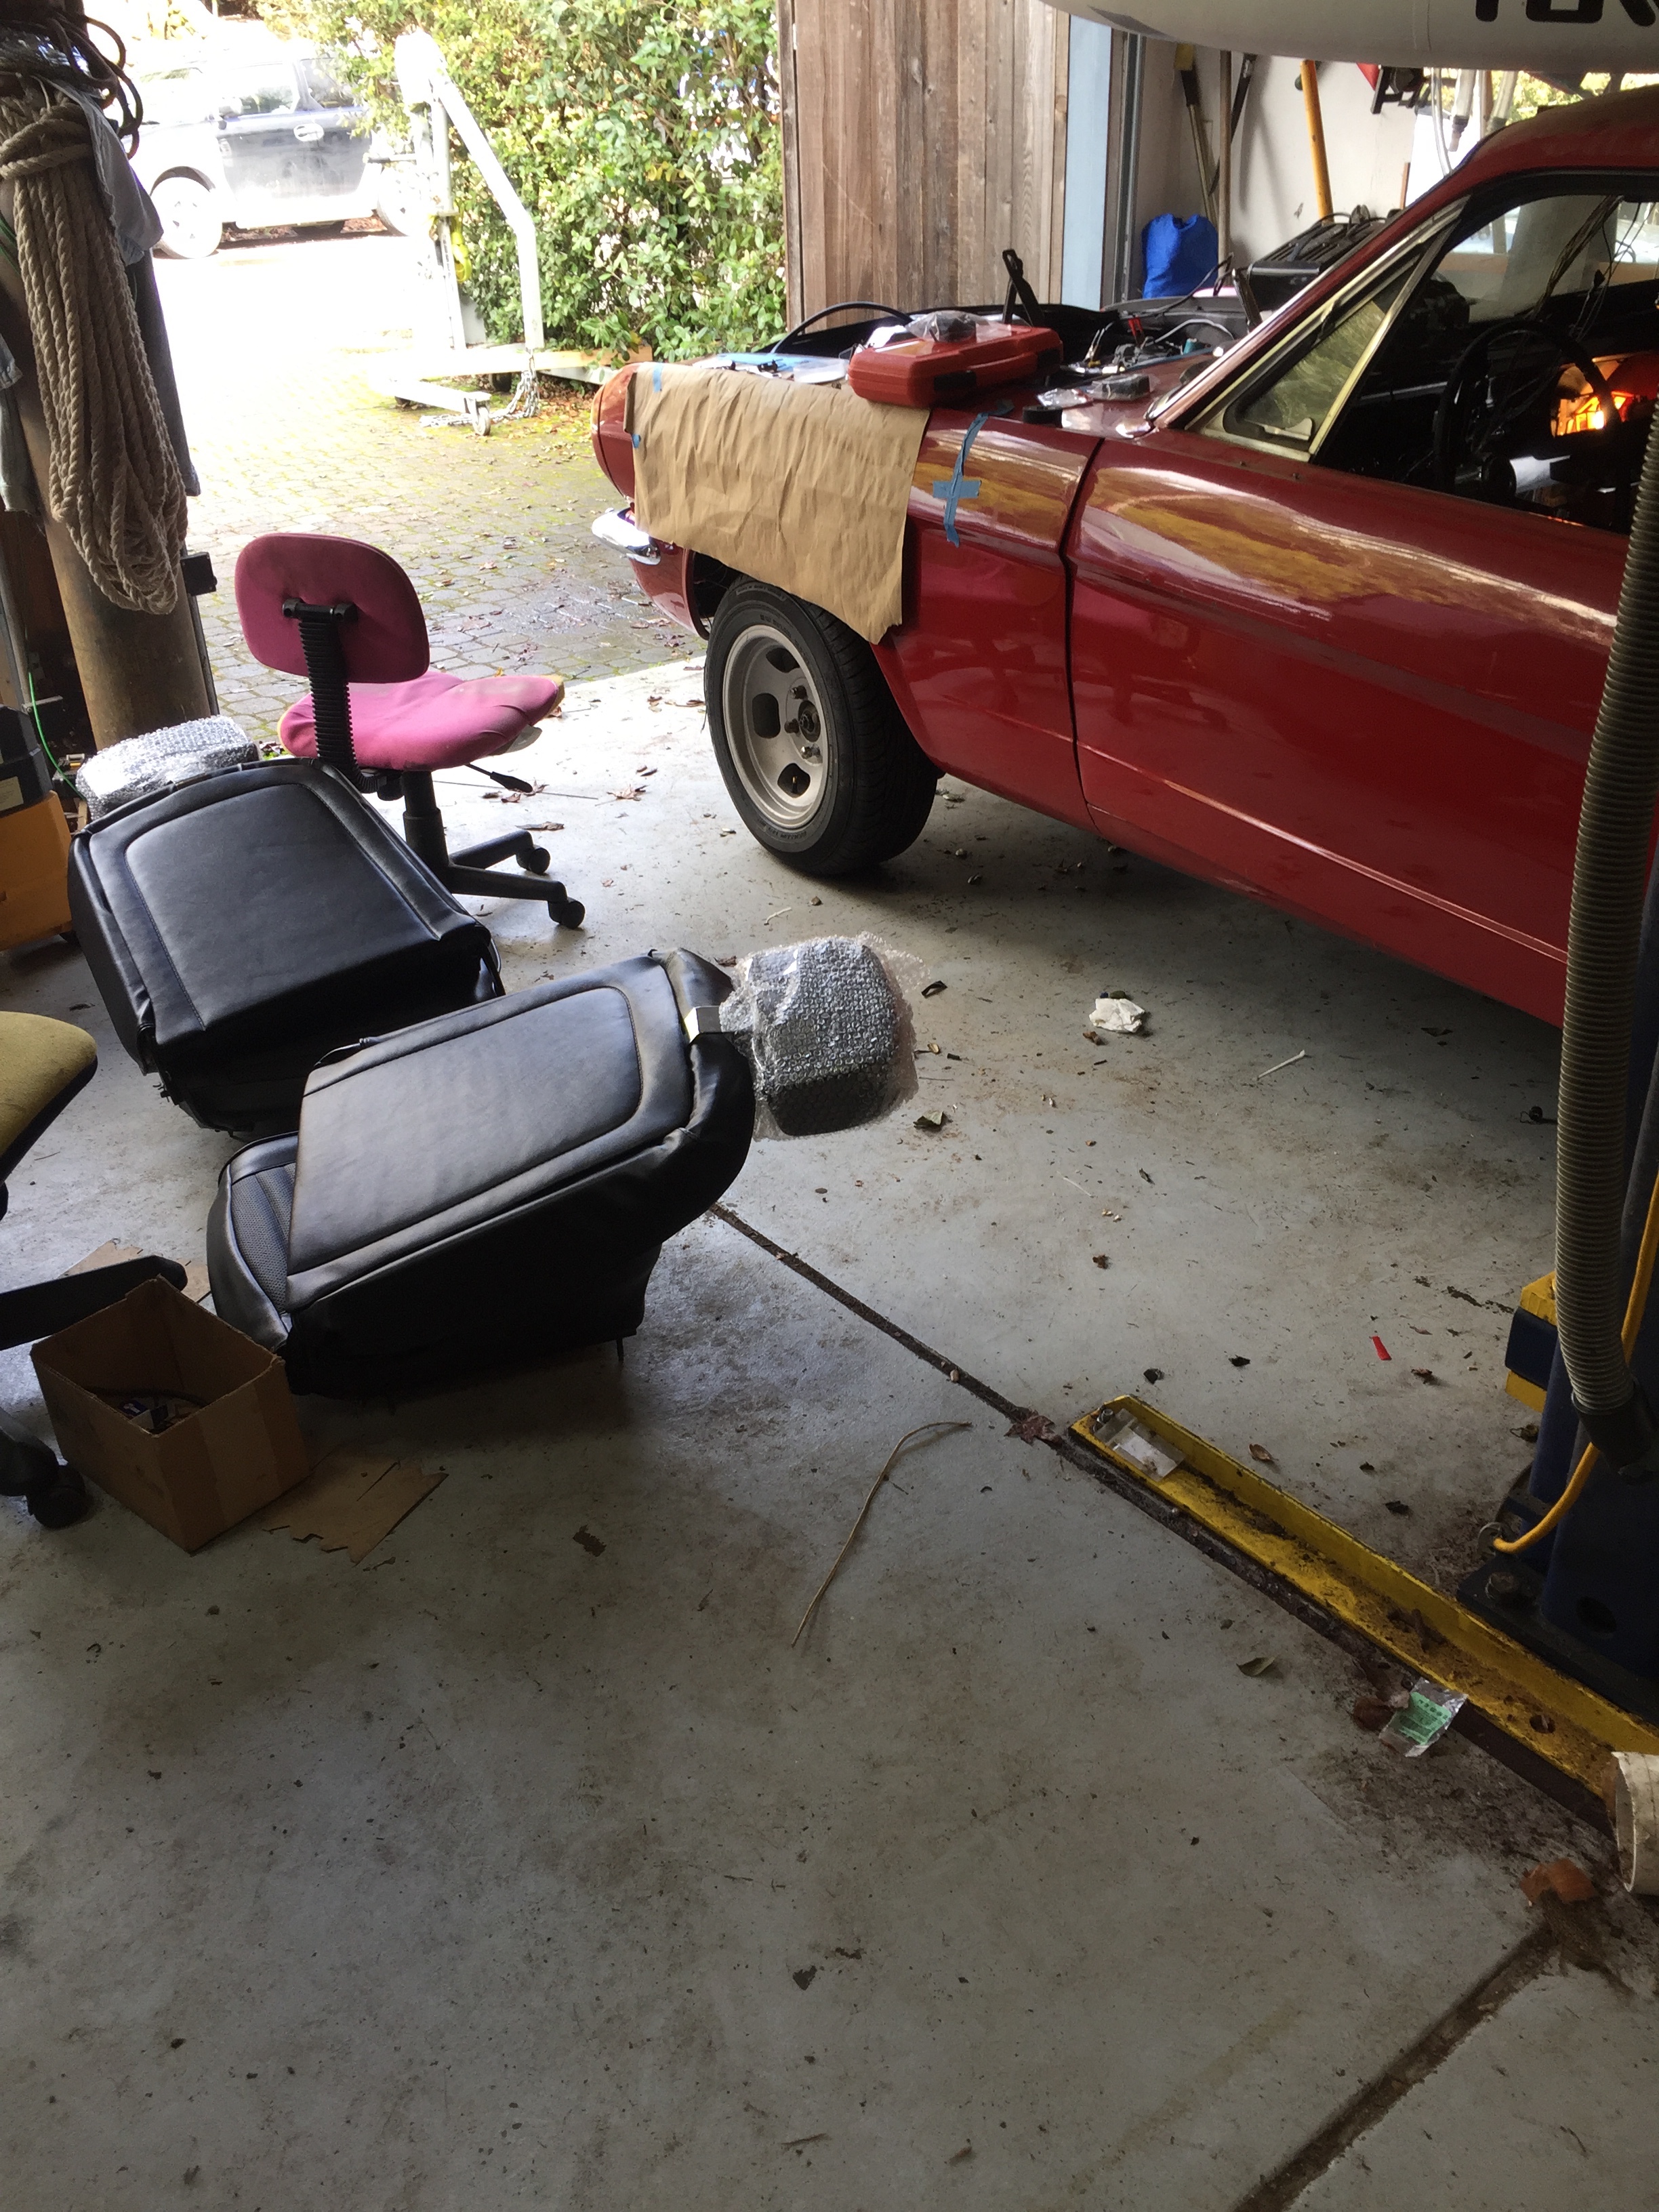
Finishing touches: Winter 2016-Spring 2017
At this point in time the car was almost ready to be driven and just needed a few more modifications.
This included operations such as putting in speakers, waxing the car and reupholstering the seats.
Engine Runs: Decemner 20th 2016
After installation of various parts and much adjustment to the carburetor, the engine runs!
Not long after, we drive the car for the first time and it really feels like this project may
finally be coming to an end.
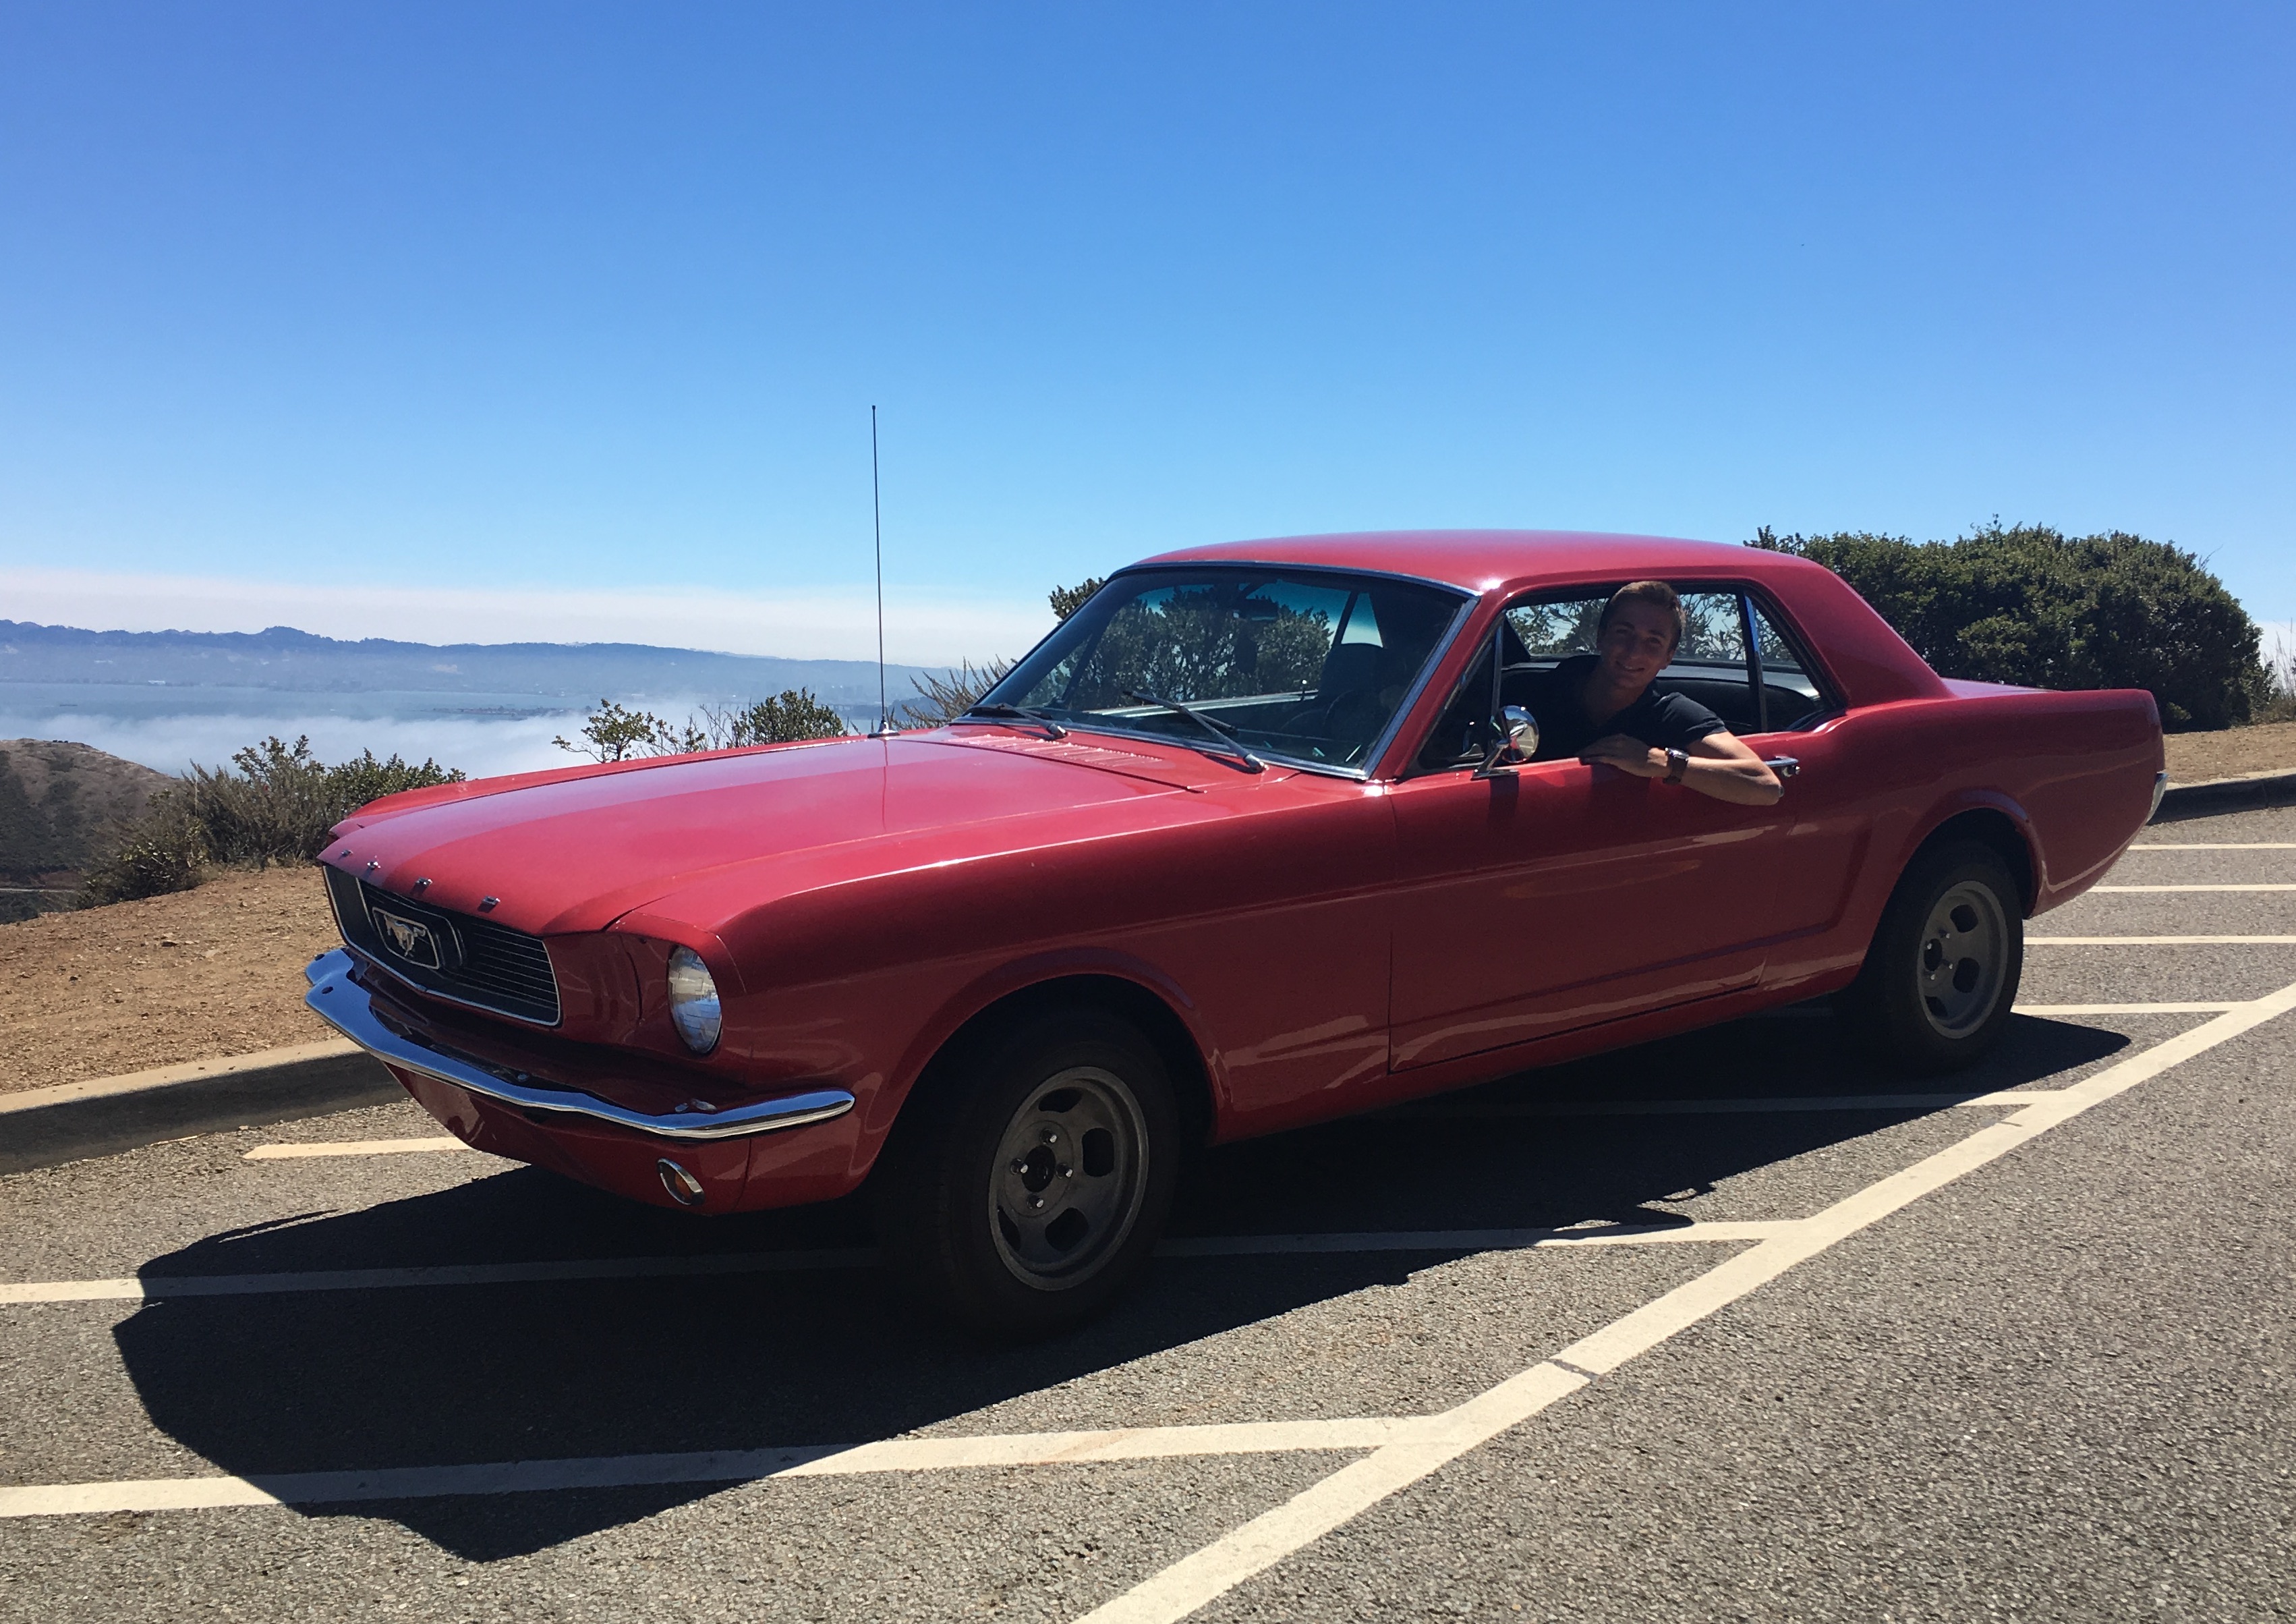
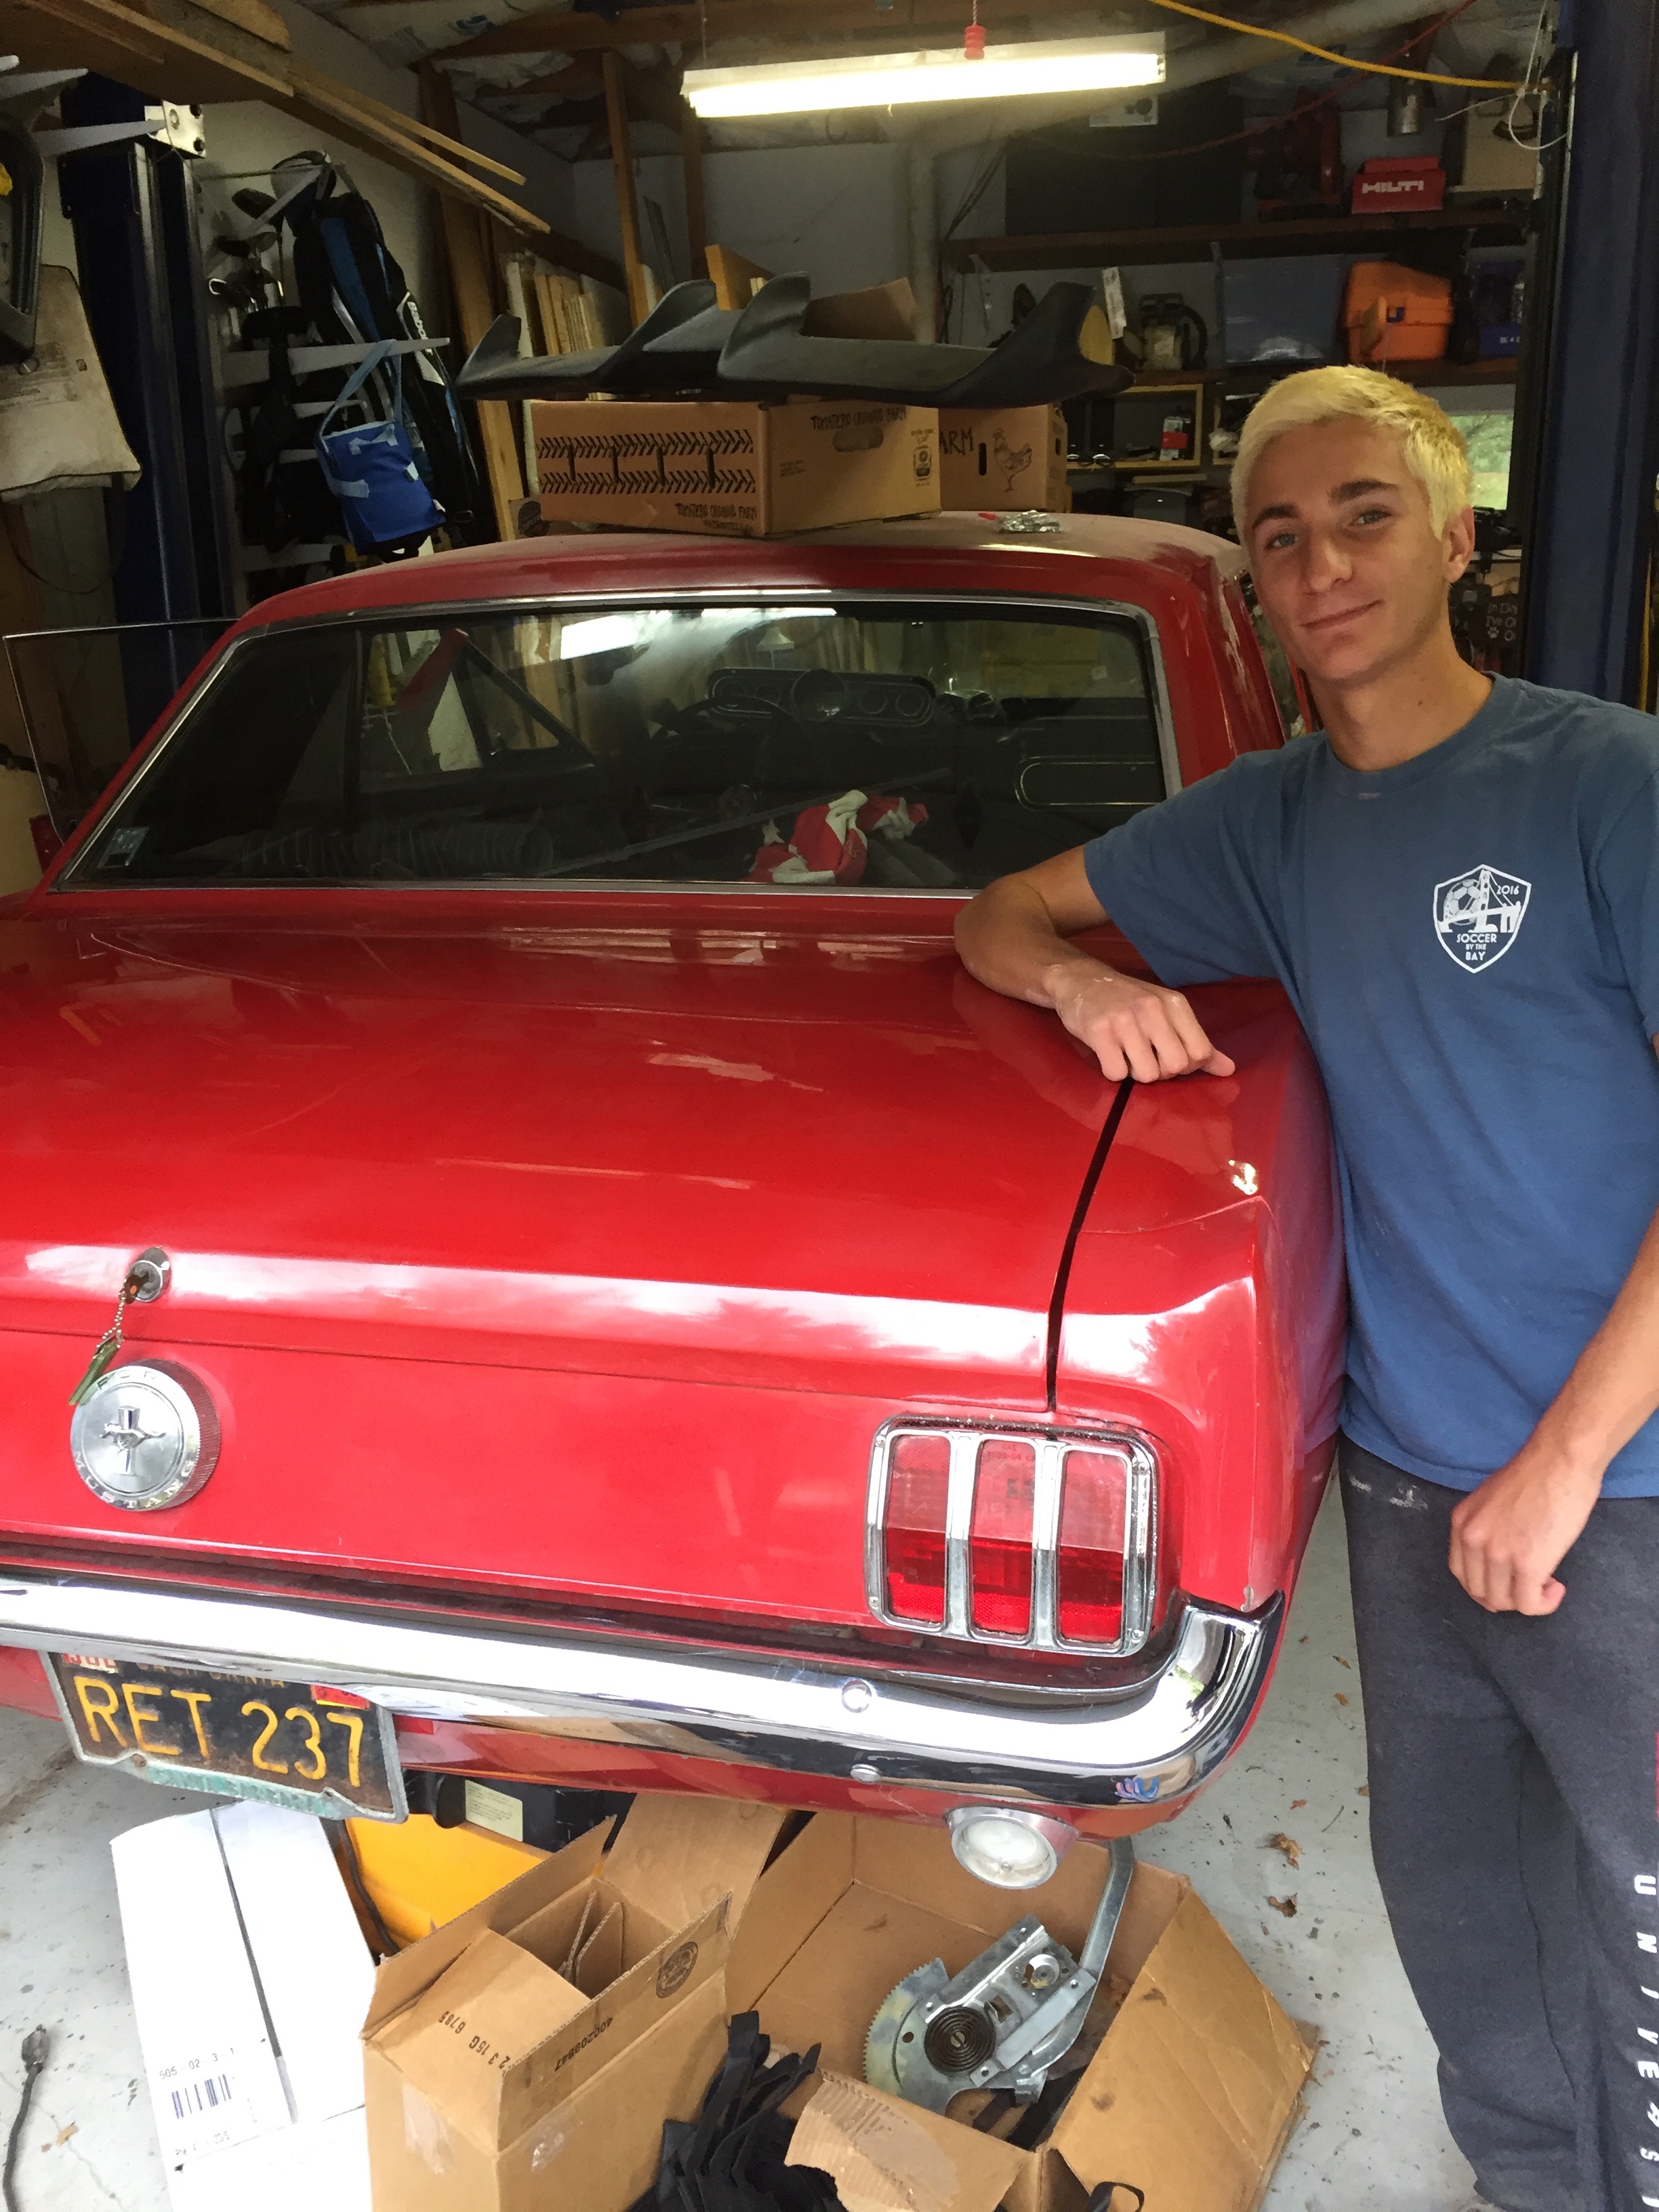
Drive to School: March 14th 2017
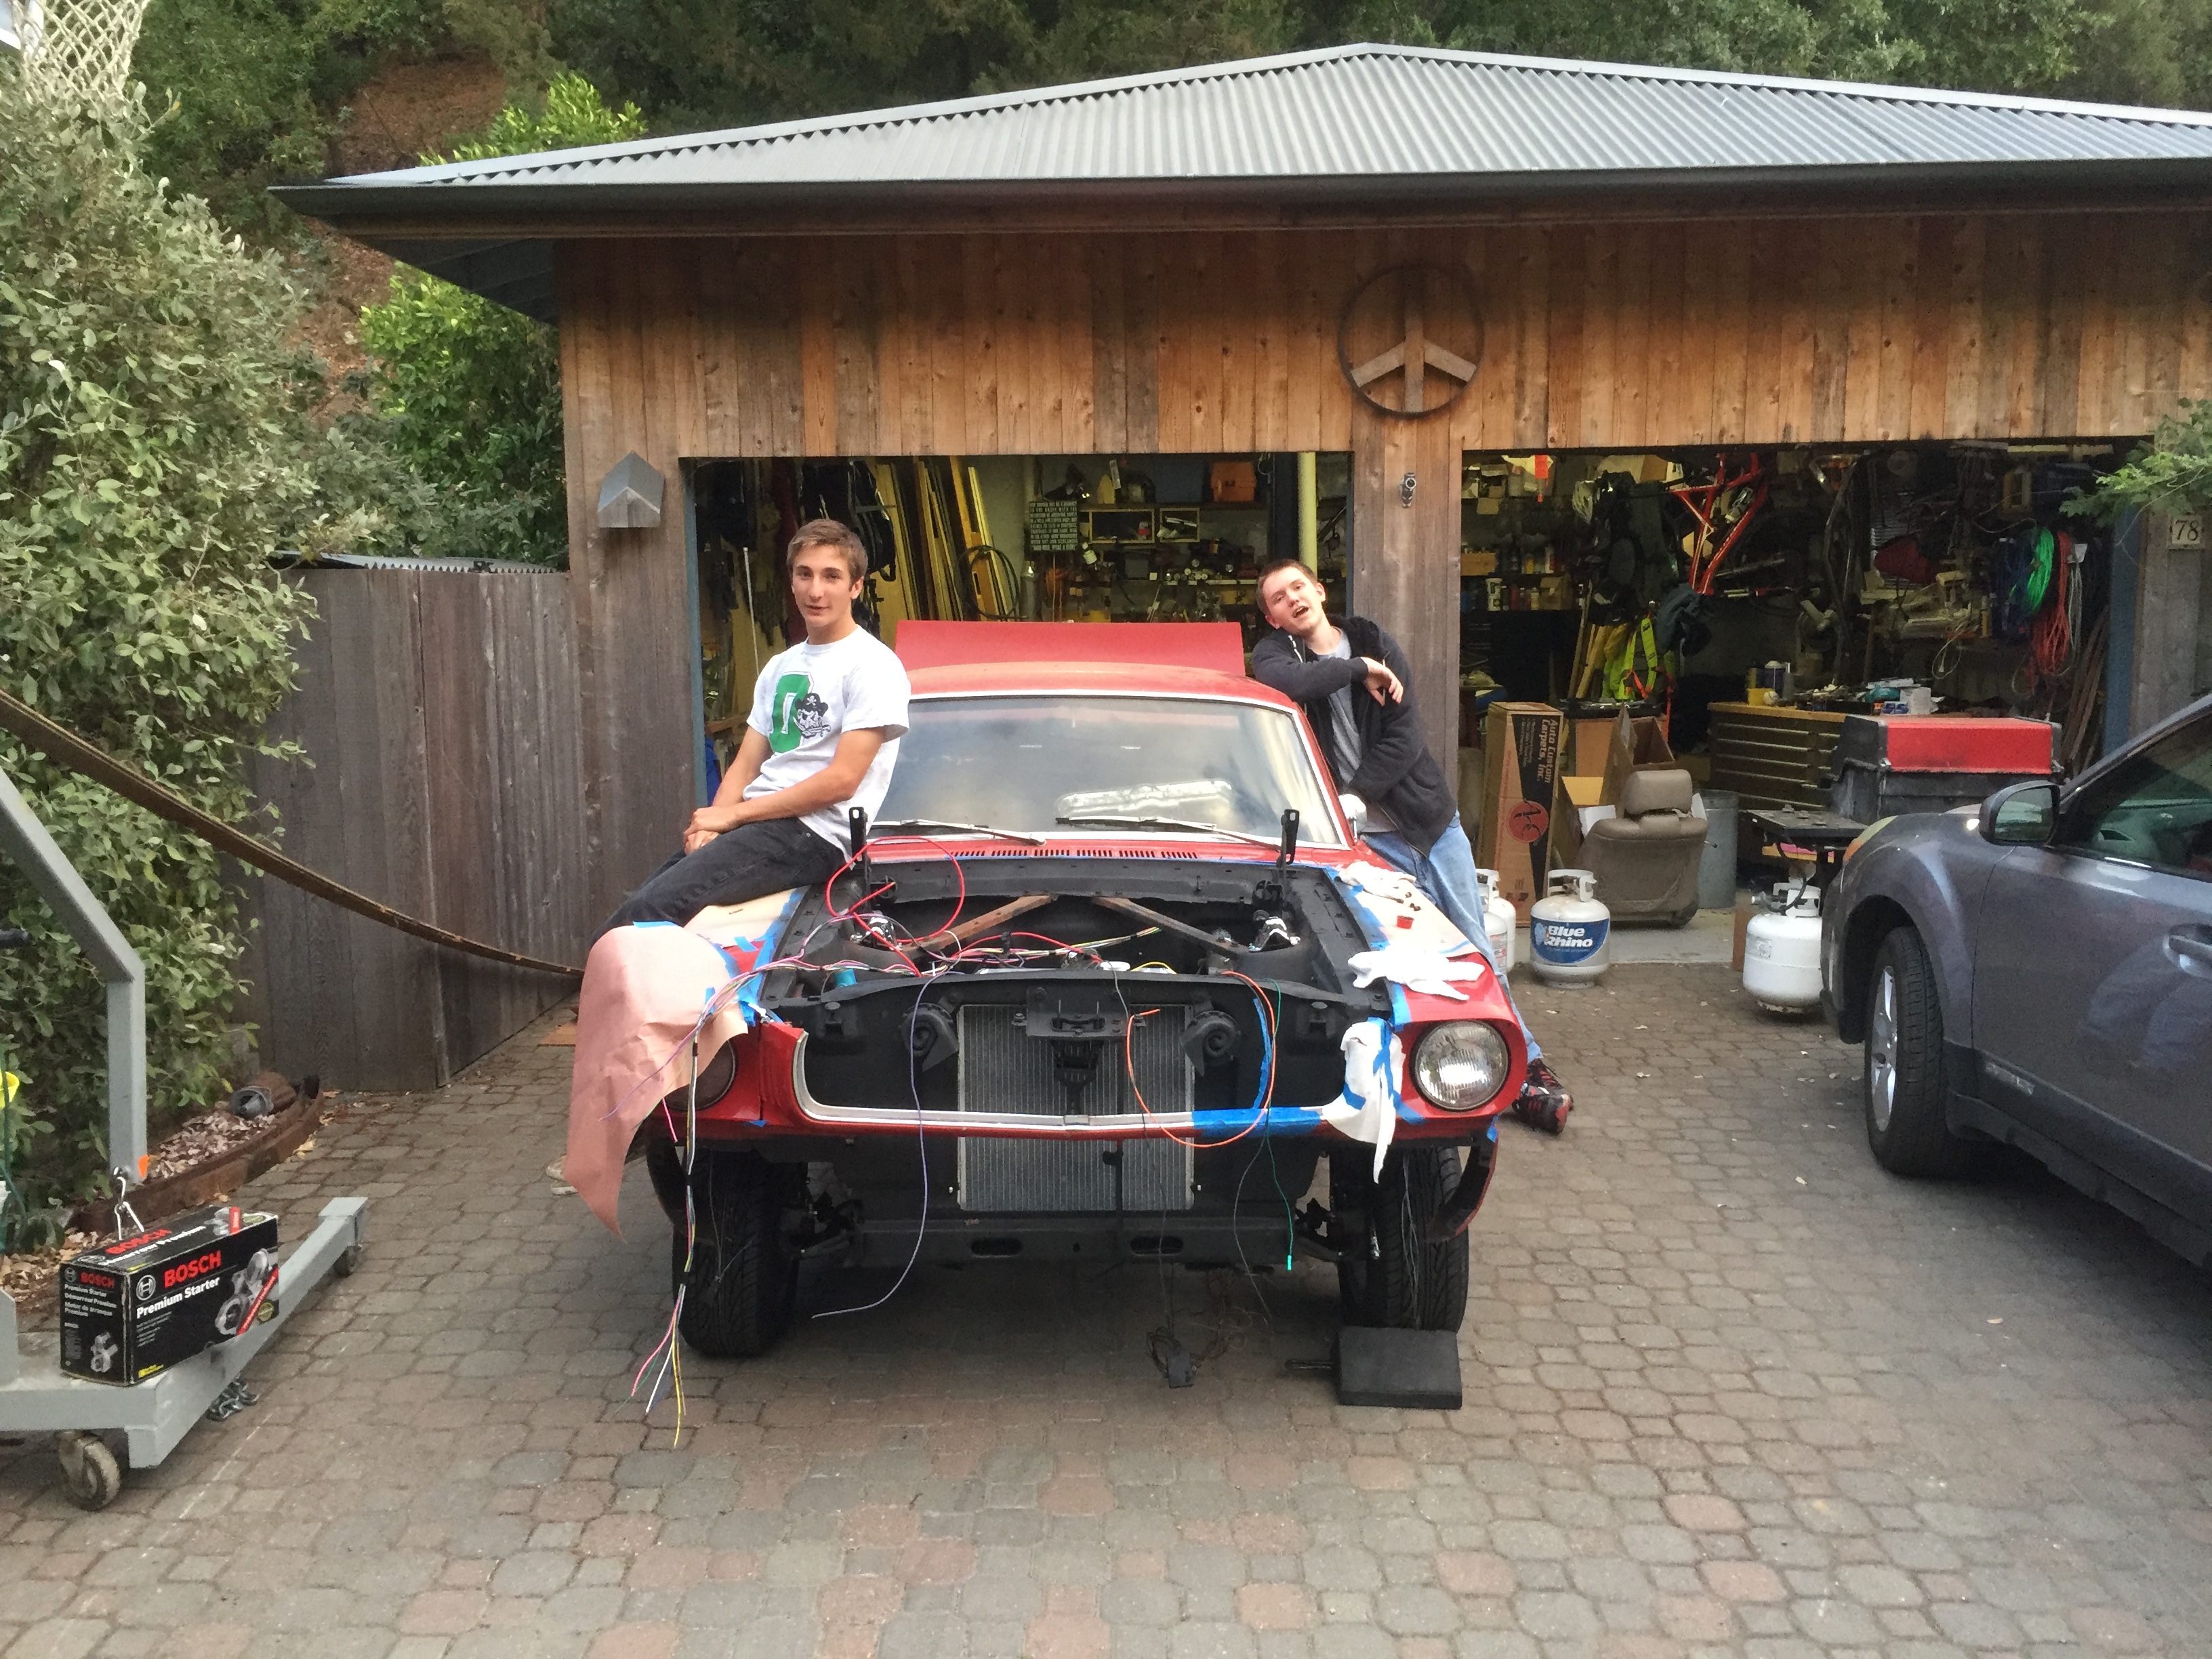
And finally, after over two years, the Red Dragon project is complete! For the first time, I drive the
mustang away from Peter's garage without the intention of immediately returning. Despite being the formal conclusion
of the project, I still work on the mustang, but with much less frequency than I did before. Being at college and
living in Berkeley means that I only get to work on the mustang when I'm back home. During breaks I have
still managed to put a good deal of work into the car. The summer of 2018 I took a car restoration class
at College of Marin and was able to further develop my car restoration skills.